Cookie cutter generator
Turn a drawing, silhouette or logo into a 3D printable cookie cutter.
More options
A custom cookie cutter is one of the most satisfying things to 3D print: a child's drawing, a company logo, a pet's silhouette, a wedding monogram or a holiday shape you can't find in a shop. This cookie cutter generator turns any picture with a clear shape into a ready-to-print cutter. It traces the outline, builds a thin cutting blade around it at exactly the size you want, adds a rim to press on, and mirrors everything so the cookie comes out the right way round.
How to make a cookie cutter
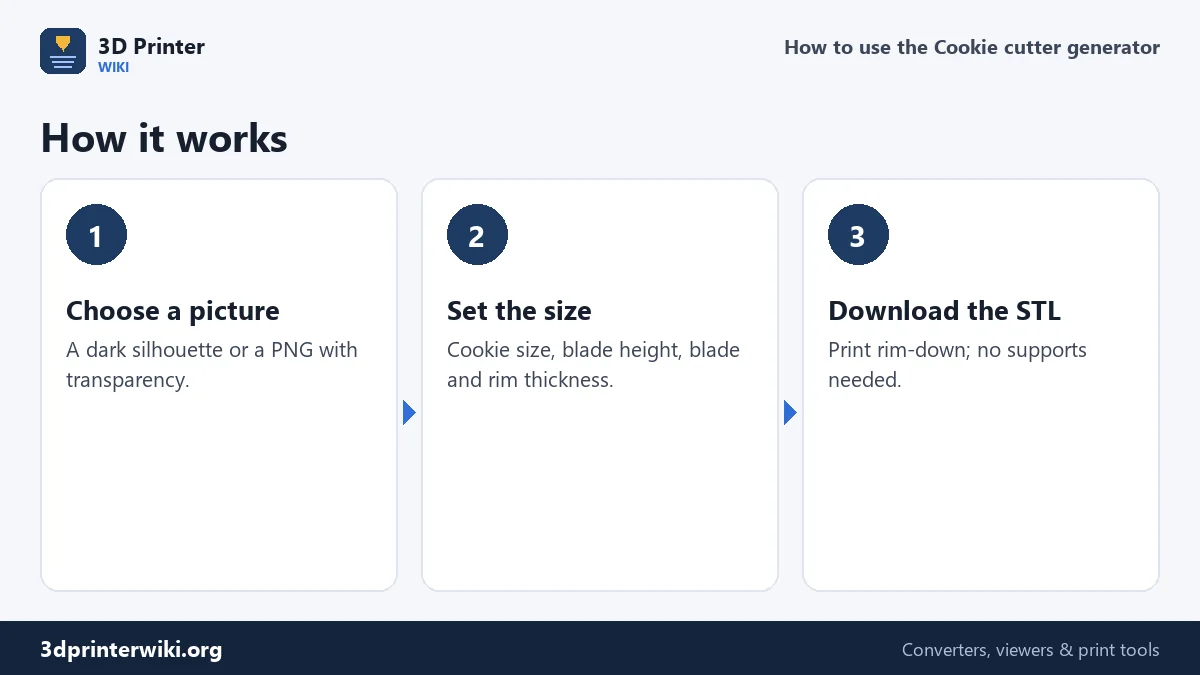
- Choose a picture with one clear shape. A black silhouette on white, or a PNG with a transparent background, works best.
- Check which part is the shape. Auto uses the transparent background of a PNG, or otherwise the dark pixels. Switch to light pixels for a white shape on a dark background.
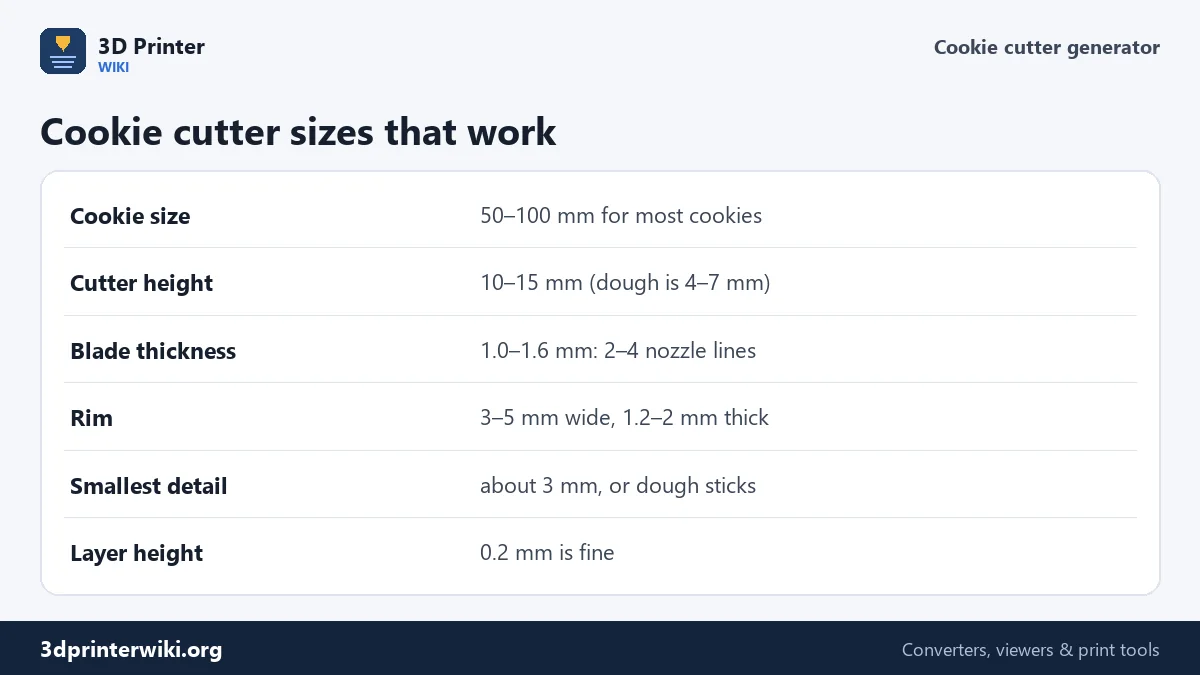
- Set the cookie size under More options: the longest side of the cookie itself, inside the blade. 70 mm is a typical cookie.
- Adjust blade and rim if you want: cutter height, blade thickness, rim width and rim thickness.
- Download the STL and print it rim-down, the way it lies in the preview.
How the cutter is built
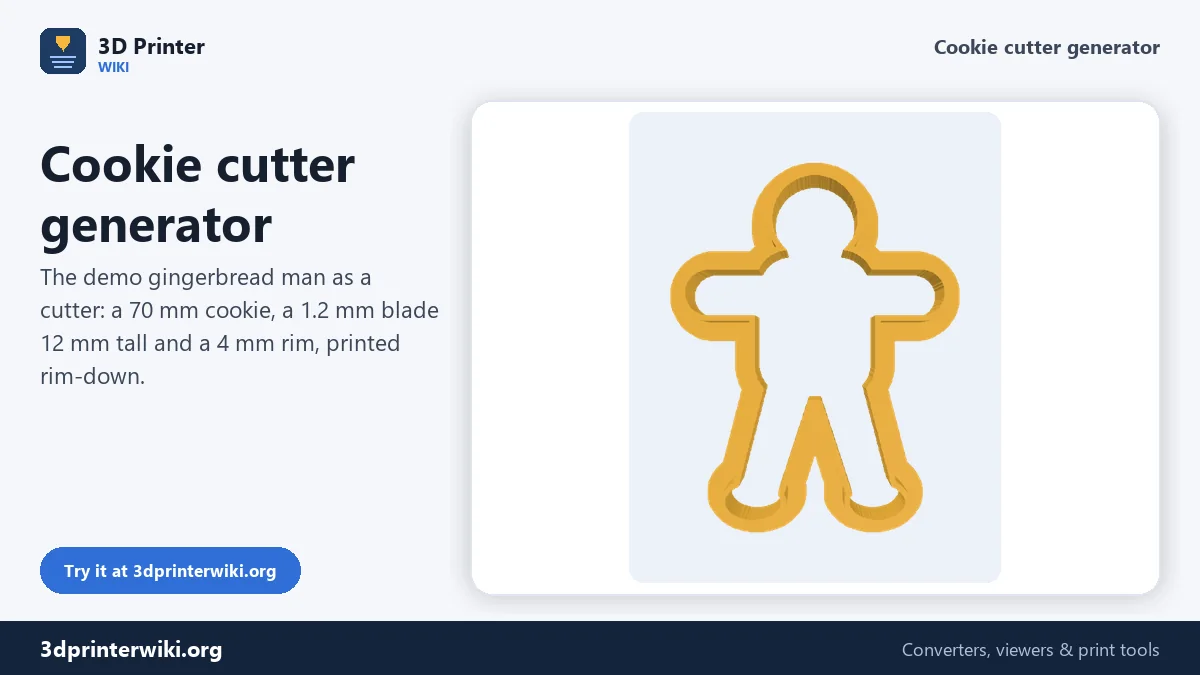
The generator reads the picture at 8 pixels per millimetre of cookie, finds every pixel that belongs to the shape, and fills any holes inside it, so a gingerbread man's eyes don't become extra blades. It then measures the distance from every pixel outside the shape to the nearest shape pixel. Everything within the blade thickness becomes the blade, and everything within blade plus rim width becomes the rim. Both are traced into smooth outlines and built as solid walls: the rim lies flat on the bed and the blade rises from it, so the inside edge of the blade is exactly the outline of your picture.
The cutter is mirrored left to right. When you print it, the rim is at the bottom; to cut, you turn it over so the rim is on top, and that turn mirrors the shape back. Letters, faces and logos come out reading the right way. For the demo gingerbread man, the result is a 53 × 70 mm cookie in a cutter of 63 × 81 × 12 mm.
Inner details
By default, holes inside the shape are ignored, which is what you want for most cookies. Tick Also cut inner details to give each hole its own blade, for example to cut out the inside of a letter O or the windows of a house. Inner details smaller than about 3 mm tend to clog with dough and won't release cleanly; keep them bold.
Pictures that make good cutters
The best source pictures are bold and simple: a filled silhouette with smooth curves and no thin parts. Clip art, emoji, logos with solid shapes and children's drawings filled in with a marker all work well. Photos rarely do, because the generator needs a clear edge between shape and background. If you start from a photo, trace the outline in a drawing app, fill it black and save it as PNG. Thin details like whiskers, fingers or text smaller than about 10 mm get lost in dough anyway; thicken them or leave them out.
The Threshold under More options decides how dark a pixel has to be to count as shape. Raise it if parts of a pale drawing are missing, lower it if shadows or paper texture are being included.
Printing the cutter
Cookie cutters are easy prints: no supports, no overhangs, a small footprint. Use normal 0.2 mm layers, two or three walls (with a 1.2 mm blade, the blade is solid anyway), and a slightly slower outer wall for a smooth cutting edge. PLA is stiff and easy to print. PETG is tougher and tolerates warmer water. The blade height of 12 mm is enough for rolled cookie dough, which is usually 4 to 7 mm thick, and leaves room for your fingers on the rim.
Food safety
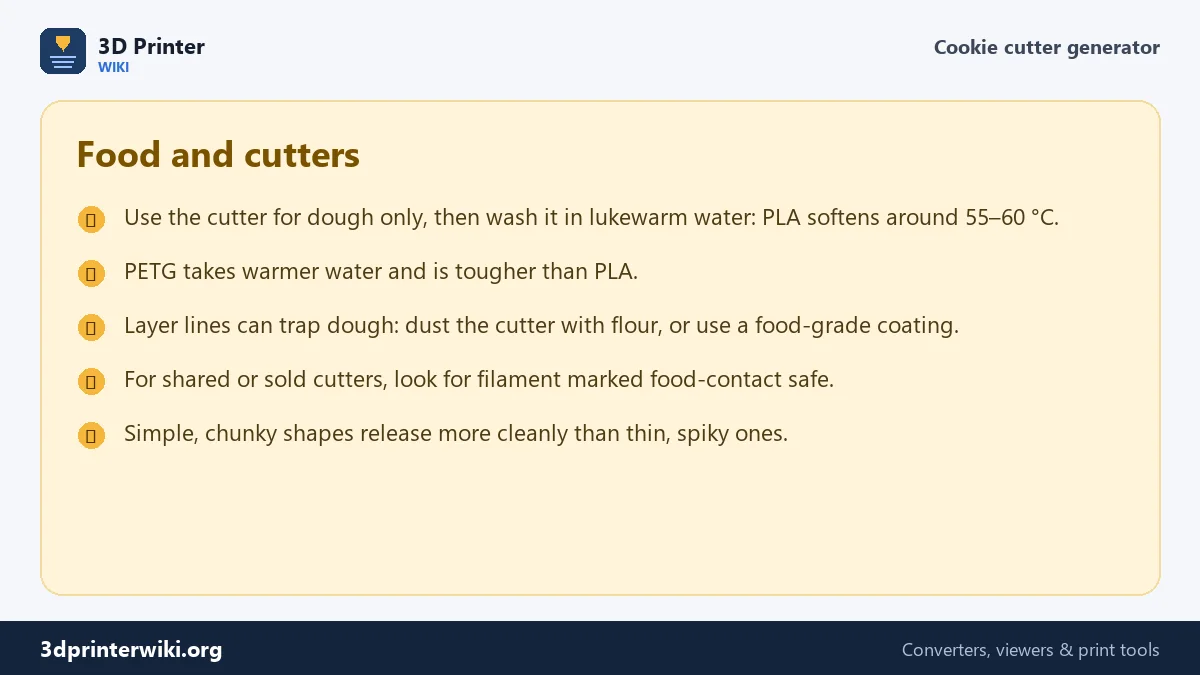
A 3D printed cutter touches dough only for a moment, which is why many people use them, but be aware of the limits. Standard PLA and PETG aren't certified for food contact, colourants and additives vary between brands, and the tiny grooves between layers can trap dough and bacteria. Use the cutter on dough only, wash it straight away in lukewarm soapy water, and replace it when it looks worn. PLA softens at around 55 to 60 °C, so keep it out of the dishwasher and hot water. If you make cutters for others or to sell, use filament that the maker declares suitable for food contact.
Cookie cutter questions
How do I make a custom cookie cutter?
Choose a picture with a clear shape on this page, set the cookie size, and download the STL. Print it rim-down without supports.
What size should a cookie cutter be?
Most cookies are 50 to 100 mm across. A cutter height of 10 to 15 mm works for rolled dough.
Is a 3D printed cookie cutter food safe?
For brief contact with dough it is widely used, but standard filament isn't certified. Wash it by hand in lukewarm water and use food-contact filament for cutters you give away or sell.
Which filament is best for cookie cutters?
PLA is easiest to print; PETG is tougher and handles warmer water. Both work for cutting dough.
Why is my cookie cutter mirrored?
On purpose. You print it rim-down and flip it to cut, which mirrors it back, so text and faces read correctly on the cookie.
Can I make a cookie cutter from a photo?
Only if the shape stands out clearly. It's best to trace the outline first and fill it black.
More 3D printing tools
Updated November 2026 · How these tools work