Heightmap to STL converter
Turn a greyscale height map into a printable terrain or relief tile.
More options
A height map is an image where brightness means height: white is the highest point and black the lowest. Game engines, terrain generators and GIS tools all use them to describe landscapes, and they are a great source for 3D prints of mountains, islands, moon craters, your local hills or a fantasy map for tabletop games. This heightmap to STL converter reads the image and builds a solid tile at the real size you choose.
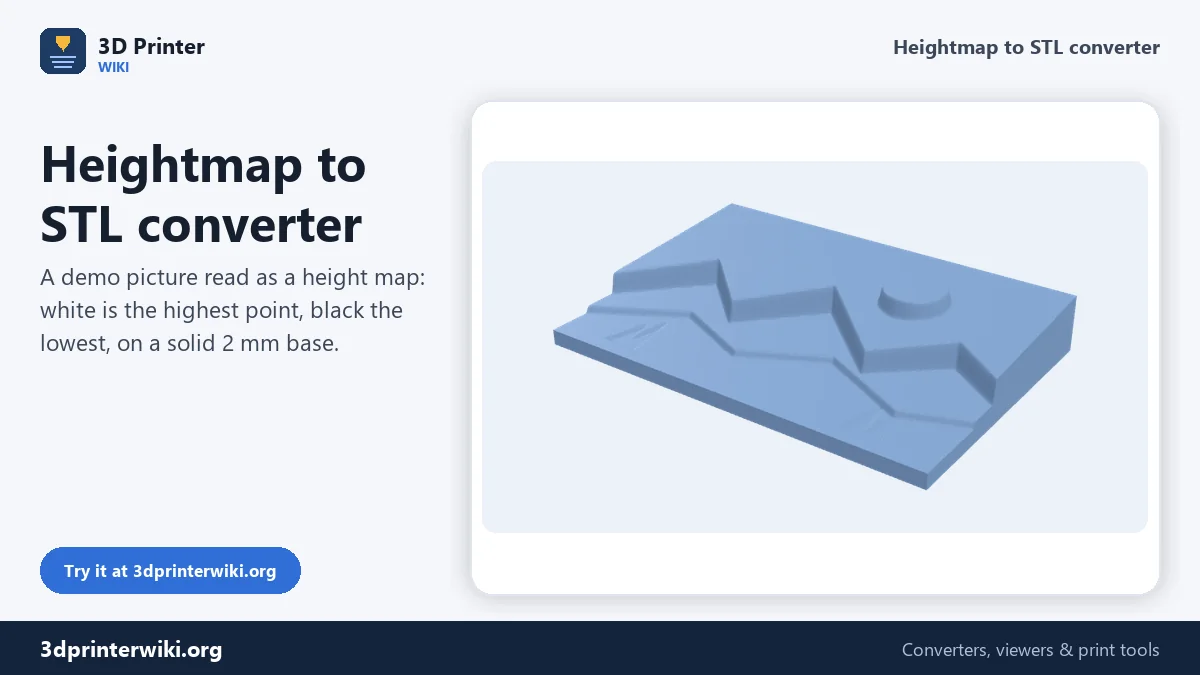
How to convert a height map to STL
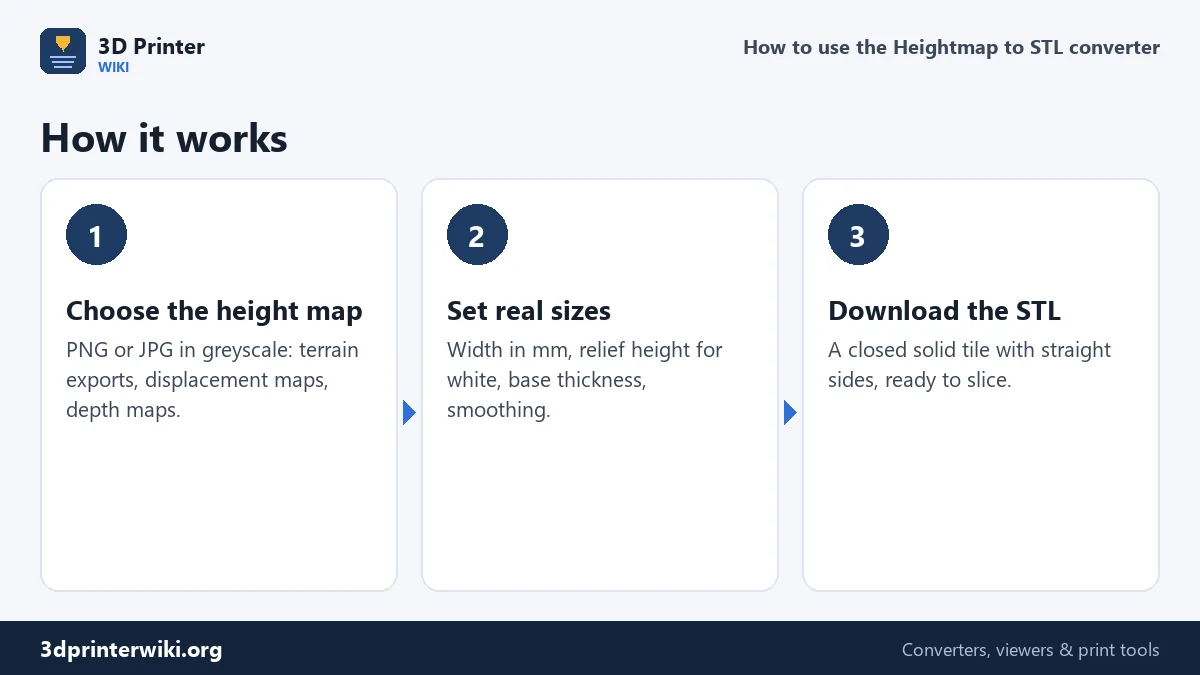
- Choose the height map (PNG or JPG). Colour images work too; they are converted to brightness.
- Set the sizes under More options: the width of the tile in millimetres, the relief height (how tall white is above black), the base thickness under the lowest point, and the detail.
- Smooth if needed. One or two smoothing passes remove the stair-step look of 8-bit maps and JPEG noise.
- Download the STL. The model has a flat bottom and straight sides, so it slices without repairs.
Choosing the relief height
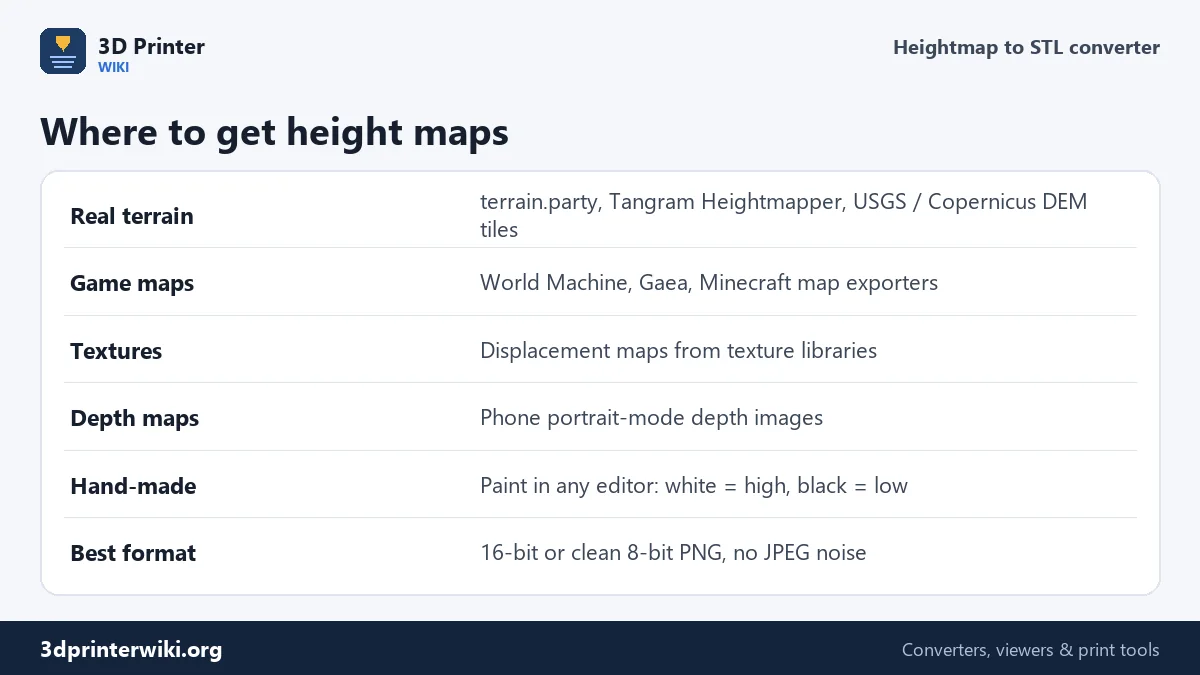
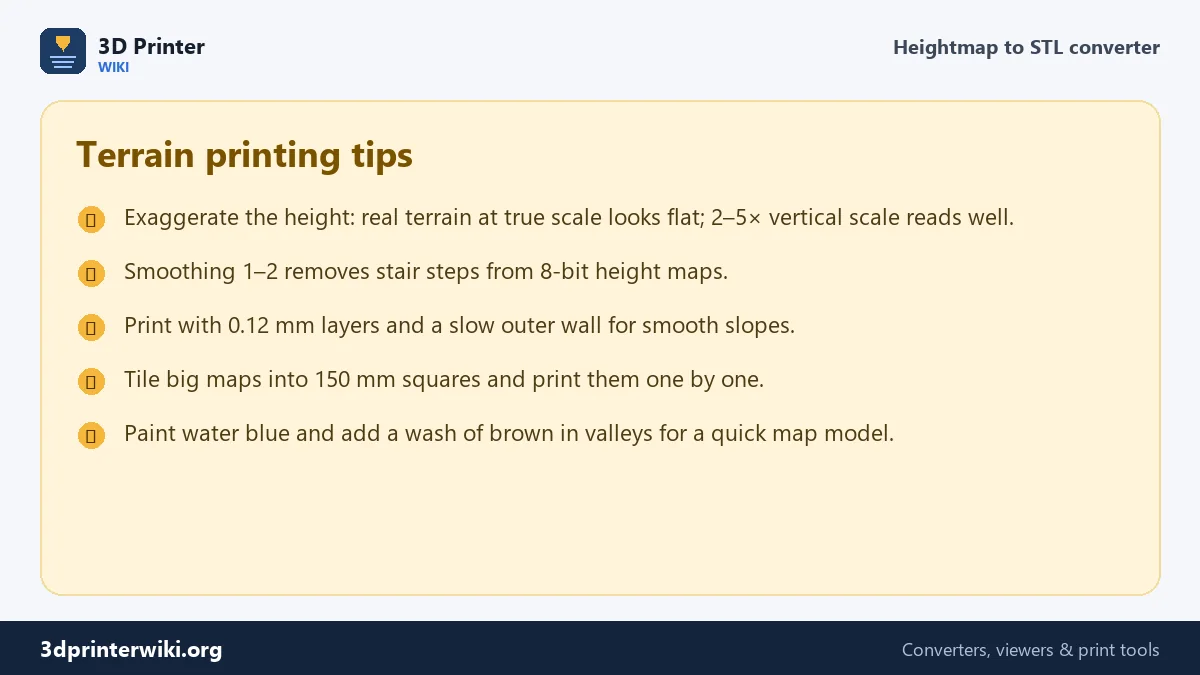
The relief height decides how dramatic the terrain looks. If you print a 150 mm tile of a 30 km wide area at true scale, a 1,500 m mountain is only 7.5 mm tall, and it looks surprisingly flat. Mapmakers exaggerate the vertical scale for exactly that reason. For a model that reads well from across a table, aim for a relief of 10 to 20 mm on a 150 mm tile, roughly 2 to 5 times the true scale for hilly country. The default here is 15 mm on a 100 mm tile.
The base sits under the lowest point. Keep it at 2 mm or more so valleys and coastlines do not become paper thin.
Where height maps come from
Real places: tools such as Tangram Heightmapper and terrain.party, and the free elevation data published by USGS and the Copernicus programme, export greyscale PNGs of any region. Games and worldbuilding: World Machine, Gaea and many game engines export height maps of the worlds you build. Textures: displacement maps from texture libraries turn into stone, wood or fabric reliefs. Depth maps: portrait-mode photos on many phones store a depth image you can extract and print as a relief.
Brightness in the image becomes height directly. Leave Invert off for normal height maps; tick it if your map uses black for high ground.
8-bit stair steps and how to avoid them
An 8-bit greyscale image has only 256 levels. Over a 15 mm relief, that is a step of about 0.06 mm, finer than a layer, so it rarely shows. But many height maps use only part of the range, so the steps get bigger; in flat areas you may see terraces. The Smoothing setting averages each sample with its neighbours, which turns terraces back into slopes. Two passes is plenty; more blurs sharp ridges.
If your tool can export 16-bit PNG, the browser still reads it as 8-bit, so smoothing remains useful.
Printing terrain
- Layer height: 0.12 to 0.16 mm keeps slopes smooth.
- Infill: 10 to 15%; most of the detail is in the top layers.
- Top layers: 5 or more, so thin plateaus are fully closed.
- Colour: a light grey or white filament shows shading best, and takes paint well.
Preparing the image
A few minutes in an image editor make a much better print:
- Crop to the area you want. Remove legends, labels and borders; anything in the image becomes height.
- Use the full grey range. If the darkest point is mid-grey and the brightest light grey, only part of the 256 grey levels are used, and the relief gets coarse steps. Stretch the levels so the lowest point is black and the highest white.
- Prefer PNG over JPG. JPEG compression leaves small square blocks that turn into bumps on the print. If you only have a JPG, raise Smoothing by one or two.
- Don't oversize. The image is sampled at the Detail setting: at 4 pixels per mm, a 100 mm wide tile uses 400 pixels across. A bigger image is scaled down, so a 400 to 800 pixel image is plenty for most tiles.
If dark should be high, as in some depth maps, tick Invert instead of editing the picture.
Related tools
For photos rather than height data, the image to STL converter makes a relief tuned for pictures, and the lithophane maker makes a panel to light from behind. For logos and flat graphics, use PNG to STL.
Heightmap to STL questions
How do I convert a heightmap to an STL file?
Choose the image on this page, set the width and relief height, and press Download STL. The result is a closed solid ready to slice.
Can I 3D print real terrain?
Yes. Export a height map of the area from a terrain tool or elevation dataset, convert it here, and print it. Exaggerate the height for a clearer model.
Does white mean high?
Yes, by default white is the highest point and black the lowest. Tick Invert if your map uses the opposite.
Why does my terrain look stepped?
The height map has few grey levels in the used range. Add one or two smoothing passes.
What resolution should my height map be?
About 4 pixels per millimetre of the print is plenty: 400 to 600 pixels wide for a 100 to 150 mm tile.
Should I use PNG or JPG for a height map?
PNG. JPEG compression adds small blocks that show up as bumps. If you have only a JPG, use some smoothing.
How many pixels does my height map need?
Width in mm × detail per mm: a 100 mm tile at 4 pixels per mm uses 400 pixels across. Larger images are scaled down.
More 3D printing tools
Updated November 2026 · How these tools work