Stencil generator
Turn text, a logo or a picture into a stencil you can print and use for paint, spray or etching.
More options
Stencils are perfect for 3D printing: flat, quick to print, tough, and reusable for paint, spray paint, chalk, etching cream, sand-blasting, icing sugar on a cake or marking out parts. The tricky part of any stencil is the islands, the middle of letters like O, A, D, P and R, which would fall out if the stencil were cut exactly to the letter shape. This stencil generator finds those islands automatically and connects each one to the rest of the plate with a thin bridge, so the stencil comes out in one piece.
How to make a stencil
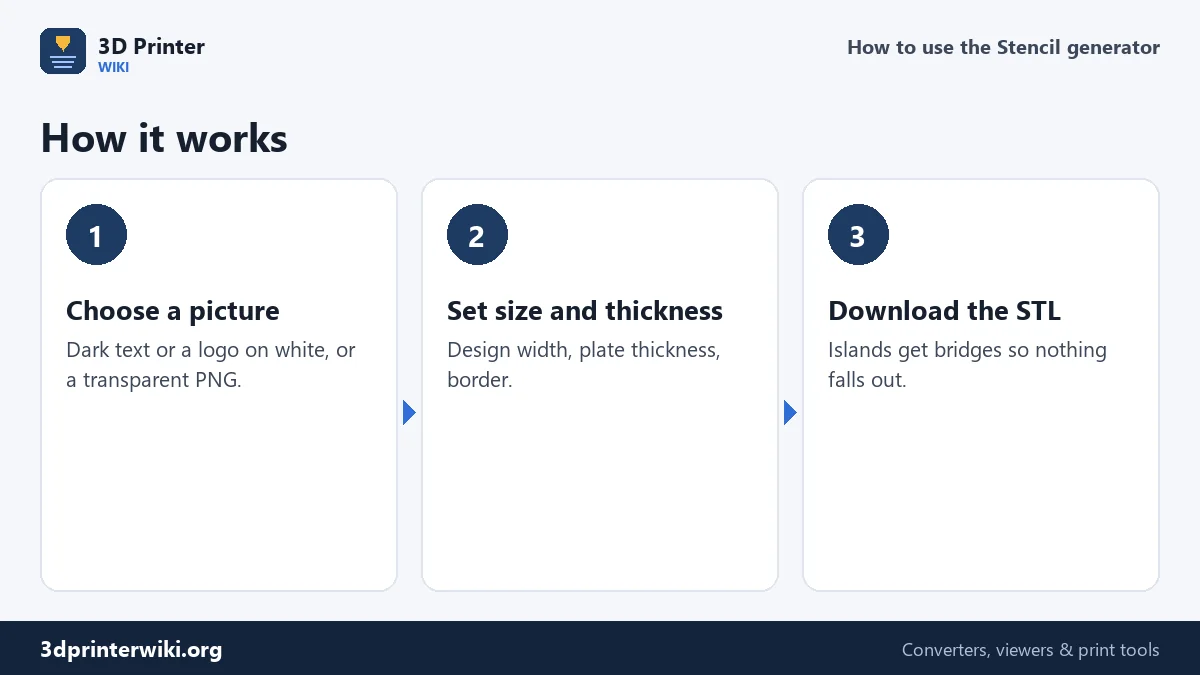
- Choose a picture: dark text or a logo on a white background, or a PNG with a transparent background. Type your text in any app, take a screenshot or export it as PNG.
- Check which part is cut out. Auto cuts out the non-transparent or dark parts. Switch to light pixels for a white design on a dark background.
- Set the design width under More options: the width of the cut-out design itself. The plate adds the border around it.
- Adjust thickness, border and bridges if needed.
- Download the STL and print it flat.
How the bridges are made
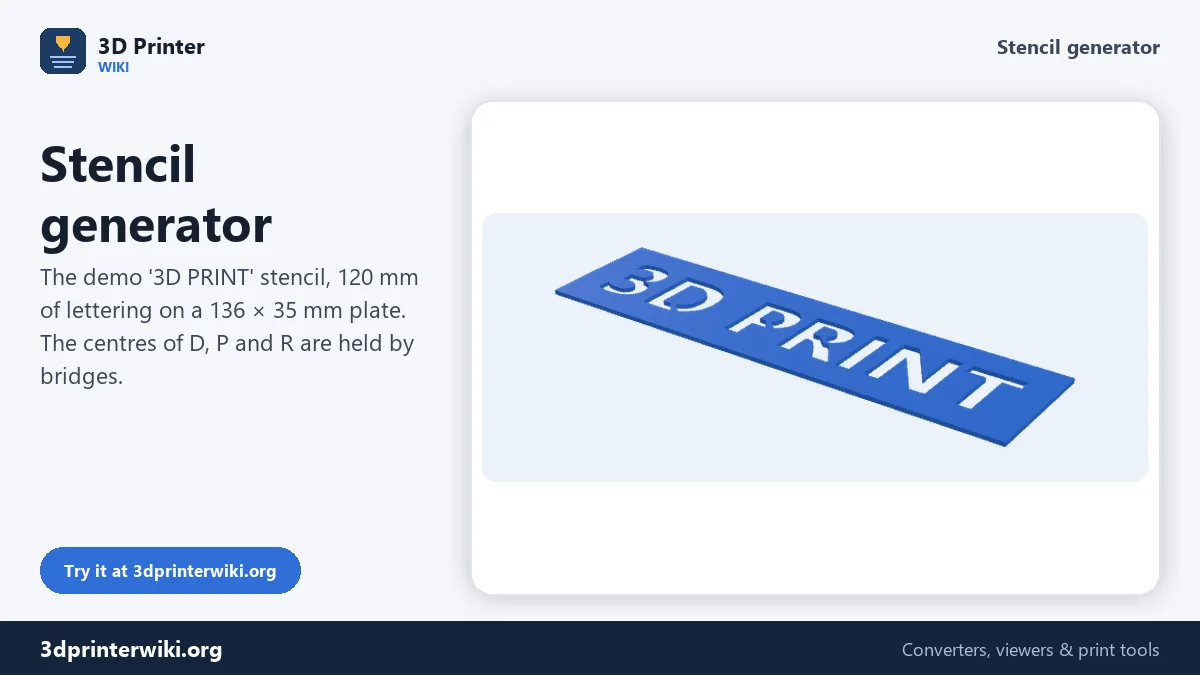
After cutting the design out of the plate, the generator looks at which parts of the plate are still connected to the outer border. Any part that isn't, such as the centre of an O or the inside of a P, is an island. For each island it searches for the shortest way through the cut-out to the main plate and lays a bridge of the width you set along it. Islands inside islands are handled too, in up to six rounds. The status line tells you how many islands were bridged; for the demo "3D PRINT" it is three: the D, the P and the R.
Bridges leave small gaps in the painted result. With a 1.5 mm bridge on letters 35 mm tall, the gap is barely noticeable, and it is part of the classic stencil look. If you want no gaps at all, you can touch them up by hand afterwards, or untick Add bridges and position the loose islands yourself when painting.
Size and thickness
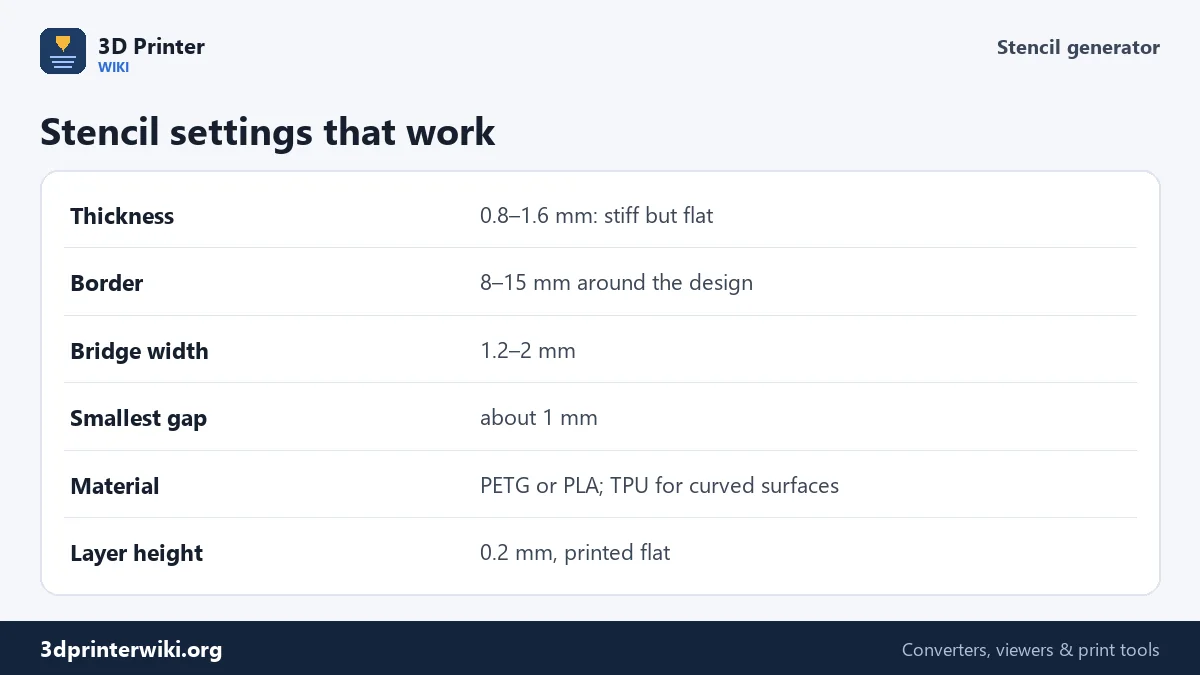
The design width is the width of the cut-out part, measured on the picture's content, not on any white space around it. The demo has 120 mm of lettering and a border of 8 mm, which gives a plate of 136 × 35 mm. Thickness is a balance: 0.8 mm hugs slightly curved surfaces, 1.2 mm is a good all-round stencil, and 1.6 mm or more stays perfectly flat and survives rough use. Leave at least 8 to 15 mm of border so spray doesn't go past the edge.
Pictures and fonts that make good stencils
Bold, simple shapes work best. For text, use a heavy font: thin strokes make narrow slots that paint can't get through cleanly. Stencil fonts, which already have bridges built in, work too; their own bridges appear as gaps and no extra bridges are needed. Keep gaps and bridges at least about 1 mm wide, because a 0.4 mm nozzle can't print features much finer than that. For logos, a single-colour version with solid shapes converts far better than a detailed full-colour one.
The Threshold sets how dark a pixel must be to be cut out. If edges look ragged, use a larger, sharper picture; if parts are missing, raise the threshold.
Printing tips
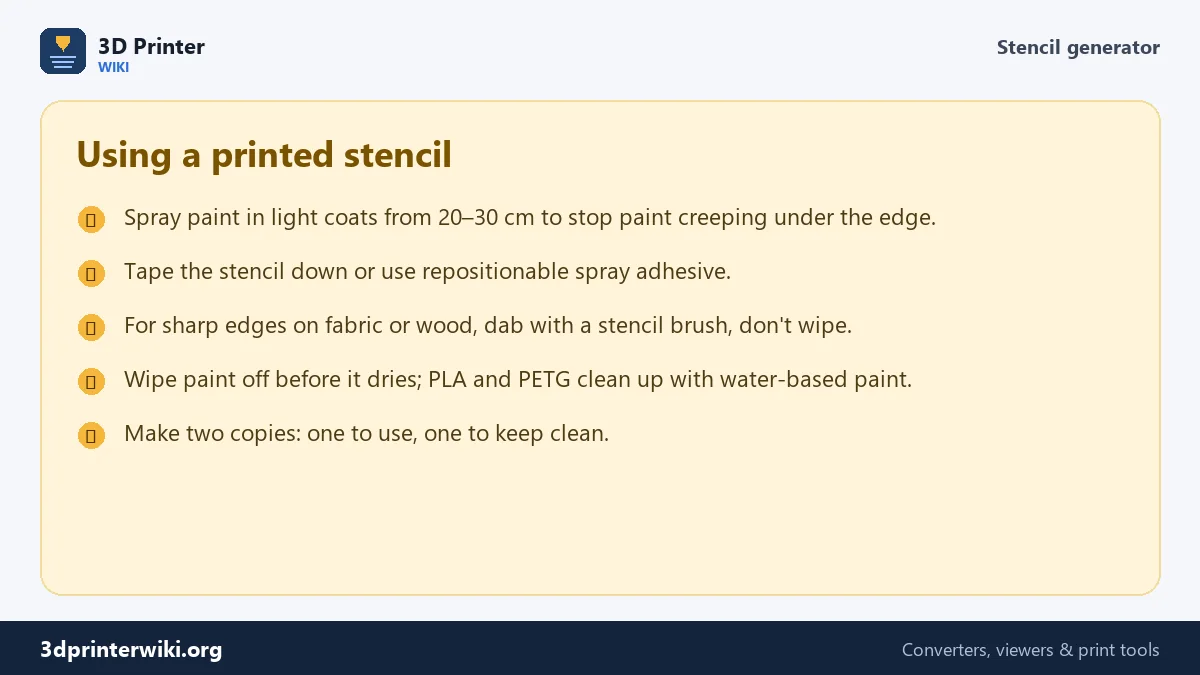
Print stencils flat on the bed with 0.2 mm layers. A smooth textured or glass bed gives a smooth underside that seals well against the surface you paint. PETG is a little flexible and very durable; PLA is stiffer and fine for most jobs. Use 100% infill or enough walls to make the thin plate solid, and slow down the first layer so bridges and small islands stick well. If the stencil warps, add a brim, or print it slightly thicker.
What people use printed stencils for
- Signs and labels on boxes, crates, toolboxes and garden beds, with spray paint.
- Cake and coffee decoration: icing sugar or cocoa dusted through the stencil. Use a fresh, clean print.
- Wall and furniture painting: repeating patterns, house numbers and borders.
- Etching and sand-blasting glass, where the plastic stencil masks the glass.
- Marking out drill holes or cut lines on wood and metal from the same outline every time.
For a raised sign instead of a painted one, use text to STL or the PNG to STL converter with the same picture.
Stencil questions
How do I make a stencil to 3D print?
Choose a picture of your text or logo here, set the width and thickness, and download the STL. Bridges are added for islands automatically.
What are stencil bridges?
Thin strips that hold islands, like the centre of an O, to the rest of the stencil so they don't fall out.
How thick should a stencil be?
About 1.2 mm for most uses: 0.8 mm for curved surfaces, 1.6 mm or more for heavy use.
What font is best for a stencil?
A bold, heavy font. Thin strokes make narrow slots that paint doesn't pass through cleanly.
Can I make a stencil from a photo?
Convert it to a high-contrast black and white image first; the stencil follows the dark areas.
Which filament is best for stencils?
PETG for durability, PLA for stiffness, TPU for curved surfaces.
Can I make a stencil from text?
Yes. Type the text in a bold font in any app, save a picture or screenshot of it, and drop it here.
More 3D printing tools
Updated November 2026 · How these tools work