STL to PNG converter
Make a clean picture of a 3D model for a listing, a manual or a thumbnail.
More options
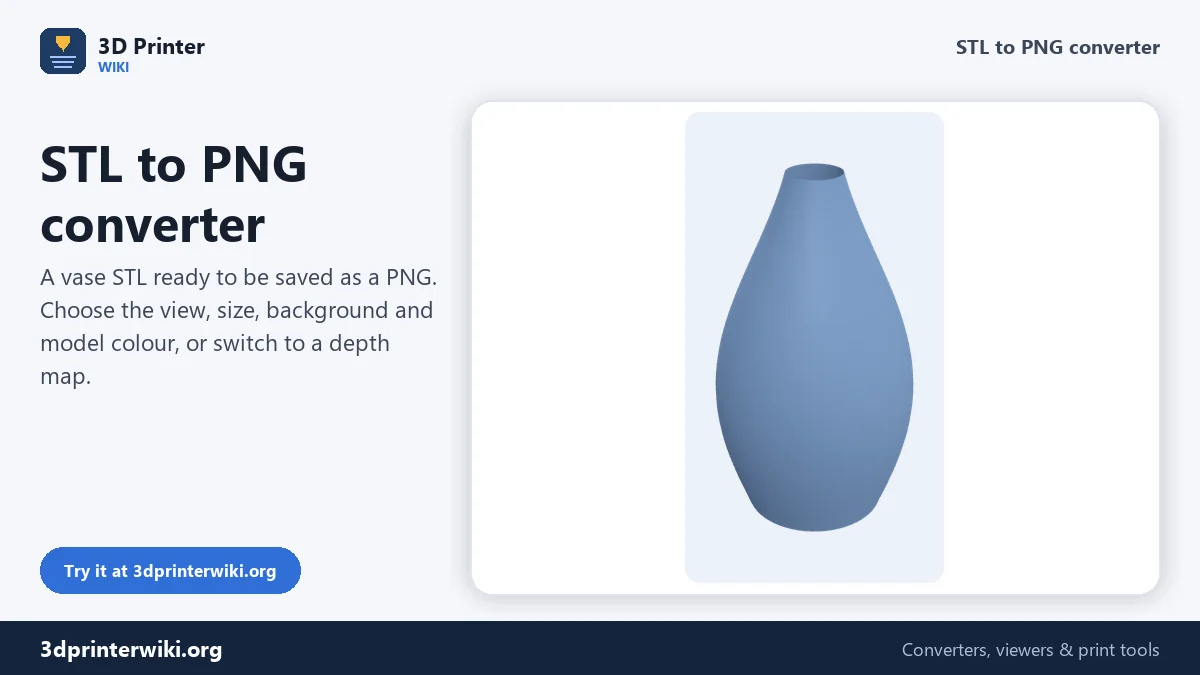
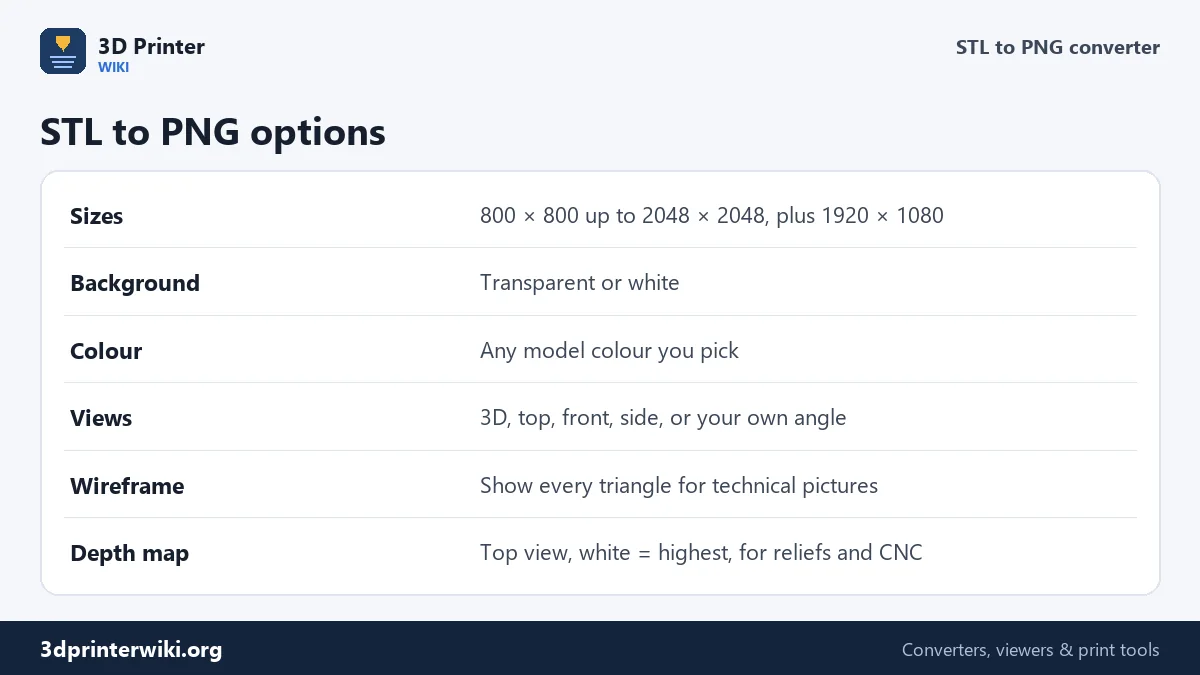
Selling prints, writing assembly instructions, posting a model on a forum or making thumbnails for a file library all need the same thing: a clean picture of the model. Taking a screenshot of your slicer gives you toolbars, a busy grid and the wrong size. This STL to PNG converter renders the model on its own, from the angle you choose, at the size you want, in your colour, with a transparent or white background. It can also save a greyscale depth map of the top view.
How to convert STL to PNG
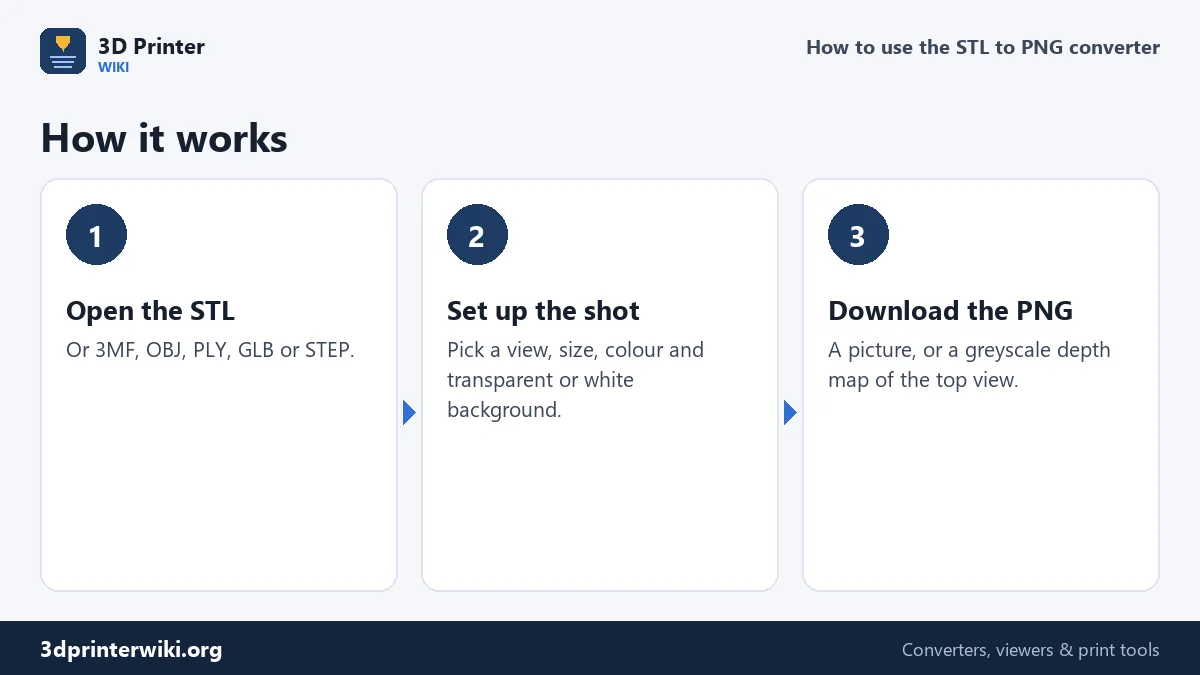
- Open the model: drop an STL, 3MF, OBJ, PLY, GLB or STEP file.
- Set up the view. Drag to rotate, scroll to zoom, or use the 3D, Top, Front and Side buttons.
- Choose the picture settings under More options: size, transparent background, model colour, grid and wireframe.
- Press Download PNG. The picture is rendered at the size you chose, independent of your screen size.
Pictures for listings and manuals
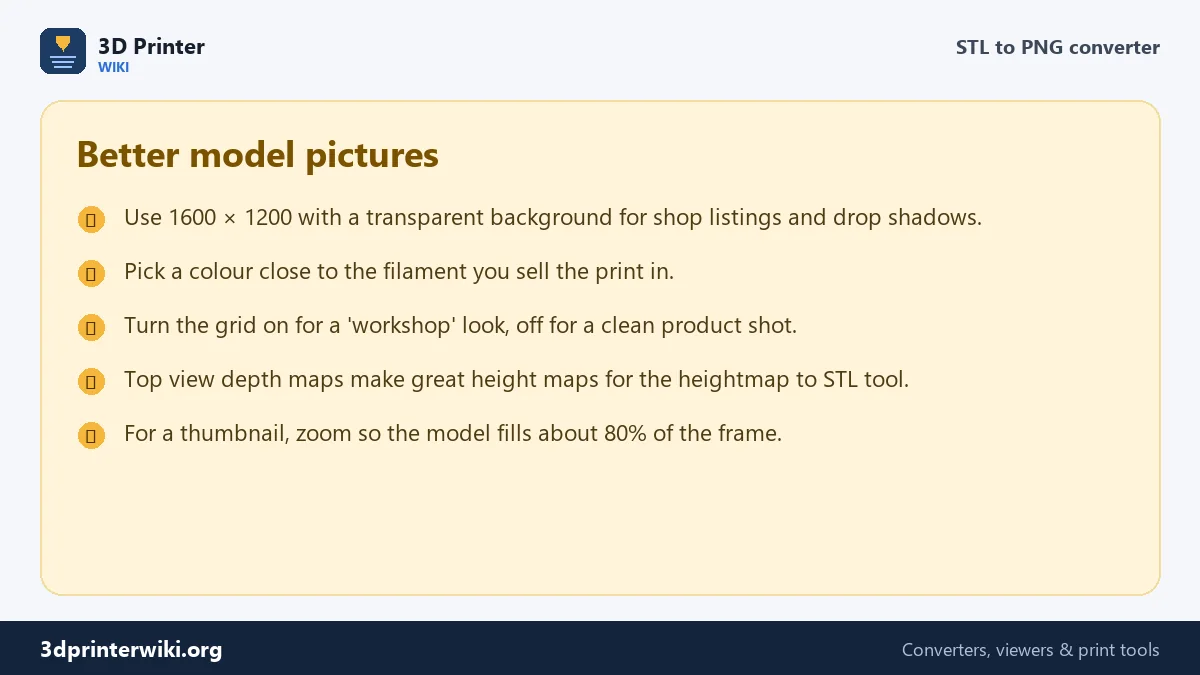
For a shop listing, 1600 × 1200 with a transparent background is a good default: marketplaces scale it nicely, and you can drop it onto any background or add a shadow in an editor. Pick a model colour close to the filament you sell; the lighting is set up so curves and edges read well in any colour. For instructions, use the Front and Side views at 1920 × 1080 and number the steps in your document. A wireframe picture (tick Show triangles) is handy for technical documentation or for showing how detailed a model is.
Depth maps
Tick Save a greyscale depth map instead and the converter looks straight down on the model and records the highest point under every pixel. White is the top of the model, dark grey the lowest point of the model, and empty areas are black or transparent. The size line tells you the height range. Depth maps are useful as height maps for CNC relief carving, for laser engraving with depth, as displacement textures in 3D software, and to turn a 3D model into a flat relief with the heightmap to STL converter.
Because the depth map is computed directly from the triangles rather than from the screen, it is exact and fills the whole picture size you choose: a 2048-pixel map of a 100 mm model has a resolution of about 0.05 mm per pixel.
Finding a good angle
The default 3D view looks at the model from the front right, slightly above, like a product photo. For most models that is the best picture. A few rules help: show the most interesting side, keep the camera a little above the model so the top is visible, and let the model fill most of the frame. Use the Top view for flat items like signs, coasters and keychains, and the Front view for figures.
Other formats
The converter reads STL, 3MF, OBJ, PLY, GLB, FBX, DAE, 3DS, AMF, STEP and IGES. If you need an image for the web that people can rotate, convert the model to GLB with the STL to GLB converter instead and embed it with a 3D viewer.
A picture set for a model page
Model sites such as Printables, Thingiverse and MakerWorld ask for pictures when you upload a design. Before you have a good photo of a print, a clean render shows people what they are downloading. A set that works well for most models is three pictures at the same size and colour:
- The 3D view as the main picture, showing the model the way it would stand on a shelf.
- The front or side view, which makes proportions easy to judge.
- A wireframe picture for detailed sculpts, so people can see how fine the mesh is, or the top view for flat items like signs and coasters.
Most makers add photos of the real print later and keep one render as the first picture, because it shows the model on its own, with nothing in the background. If you make renders and photos, say which is which in the description; buyers and downloaders appreciate knowing what a print really looks like.
The picture is rendered off screen at exactly the size you choose, so a 2048 × 2048 PNG is sharp even if your screen is smaller than that. The view, zoom and colour you set on screen are exactly what ends up in the file.
STL to PNG questions
How do I convert an STL to an image?
Open the STL on this page, choose the view and size, and press Download PNG.
Can I get a transparent background?
Yes. Transparent background is on by default; untick it for white.
What is an STL depth map?
A greyscale picture of the top view where brightness shows height. It is used for CNC carving, laser engraving and displacement textures.
Can I convert STL to JPG?
The download is PNG, which keeps sharp edges and transparency. Any image editor can save it as JPG if you need one.
What size should a product picture be?
1600 × 1200 or 2048 × 2048 is plenty for marketplaces and websites.
How do I make a thumbnail of an STL file?
Open the STL here, pick the 800 × 800 size and press Download PNG. Zoom in first so the model fills most of the frame.
Can I render several views at once?
One picture is saved per click. Switch between 3D, Top, Front and Side and download each one; the size and colour stay the same.
What background works best for listings?
Transparent, so the marketplace or your editor can put the model on any background. Use white if a site doesn't accept transparency.
More 3D printing tools
Updated November 2026 · How these tools work