Image to STL converter
Turn a picture into a raised 3D relief you can print, paint or hang on the wall.
More options
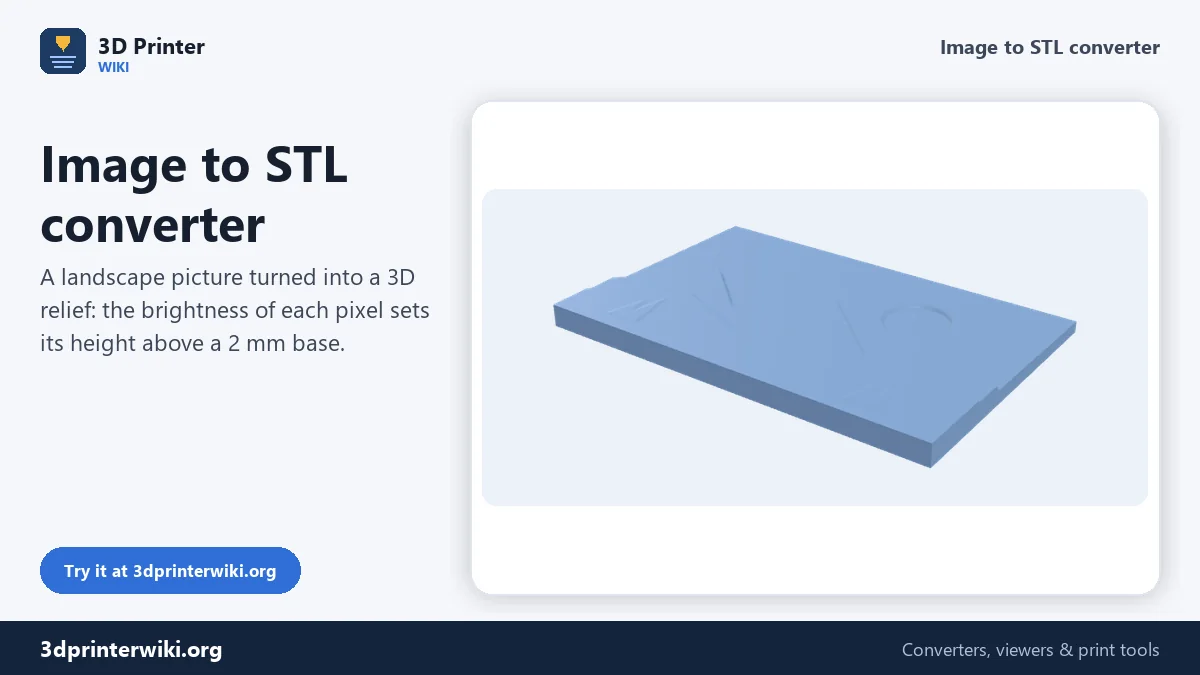
Any picture can become a 3D object. This image to STL converter reads the brightness of every pixel and turns it into height: bright areas rise, dark areas stay low (or the other way round). The result is a relief, like a carving or a coin, that you can print, paint and hang on a wall, glue to a box lid or use as a texture stamp for clay.
It works with photos, pencil drawings, children's art, maps and logos. You choose a flat tile or a round coin shape, the relief height and the base thickness, and the 3D preview shows the model before you download it.
How to convert an image to STL
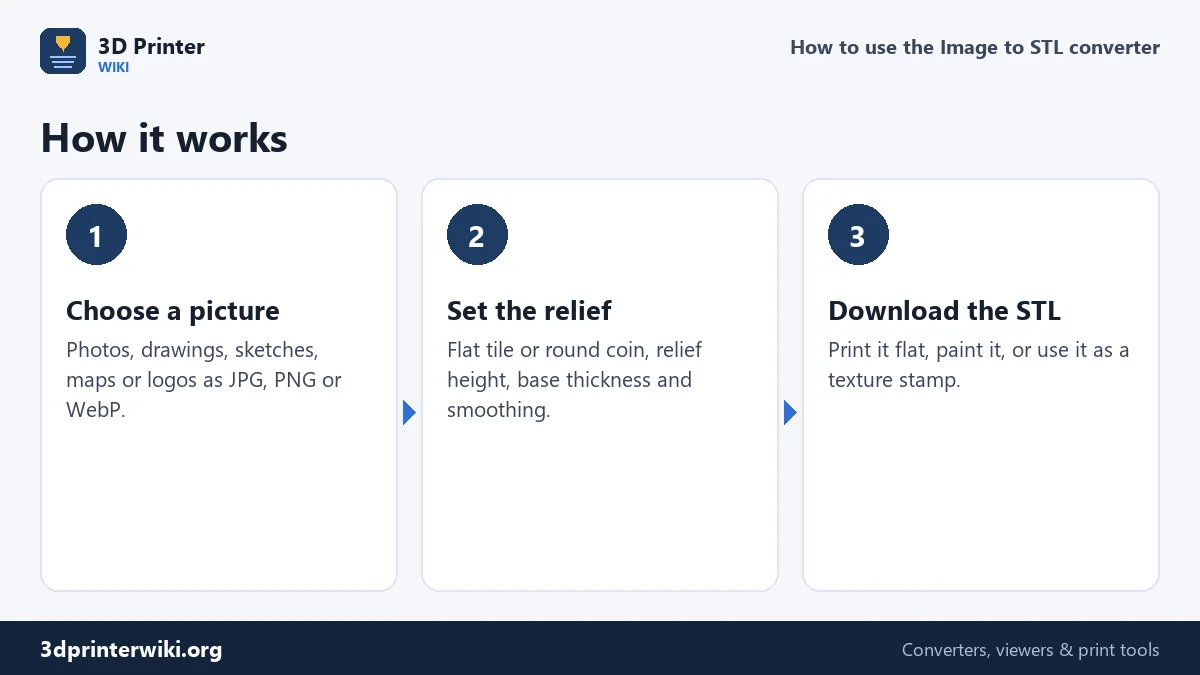
- Choose a picture. JPG, PNG, WebP, GIF or BMP. The converter reads it on your device; nothing is uploaded.
- Pick a shape. Flat relief keeps the rectangle of the picture. Round coin cuts it to a circle, which is great for medals, badges and coasters.
- Adjust the relief. Under More options set the width, the relief height, the base thickness, the detail and the smoothing. The preview updates as you change them.
- Download the STL or the 3MF and print it lying flat.
How the picture becomes height
The converter samples the picture on a grid. With the default width of 100 mm and a detail of 4 samples per millimetre, that is 400 samples across, each 0.25 mm apart. Each sample's brightness, from 0 for black to 1 for white, is multiplied by the relief height and added to the base. With the defaults (4 mm relief on a 2 mm base), a white area stands 6 mm tall and a black area sits at 2 mm.
Invert is ticked by default on this page, which makes dark areas high. That suits most portraits and drawings: the lines of a pencil sketch stand out, and dark hair or eyes become the raised parts. Untick it when you want bright areas to rise, for example a white logo on a dark background or a sunlit landscape.
The model is a closed solid: the relief on top, a flat bottom and straight walls on all sides. It slices without repairs.
Image to STL, lithophane or PNG to STL?
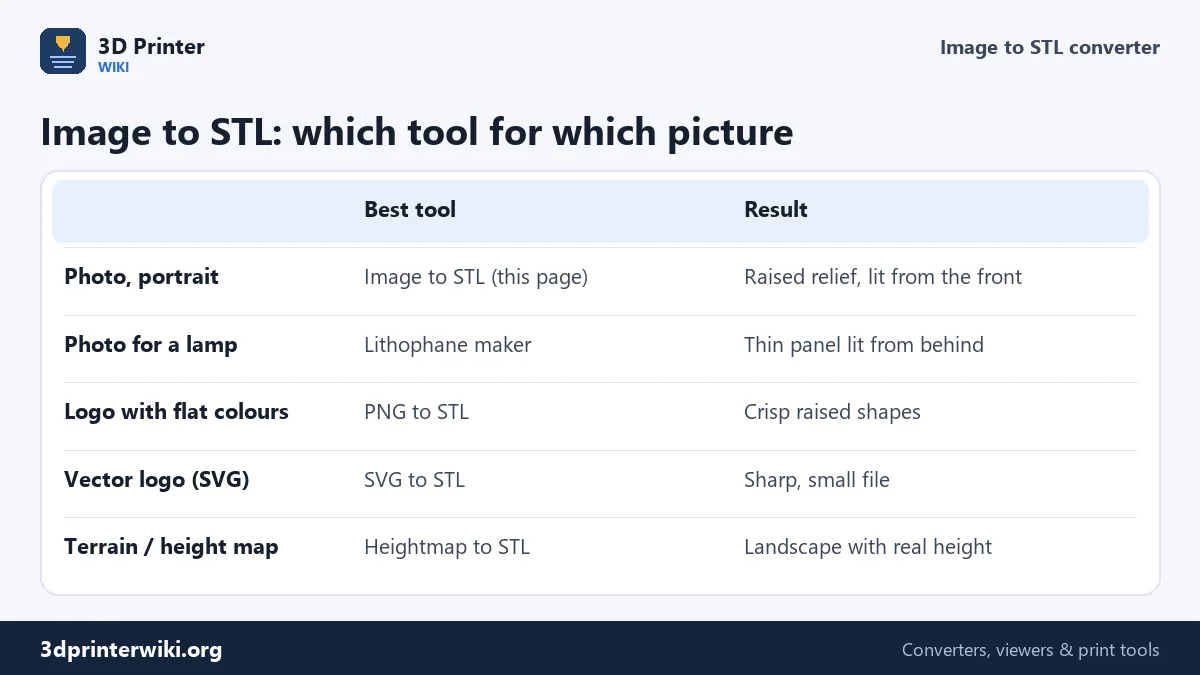
Three tools on this site turn pictures into models, and each suits a different kind of picture.
- This page makes a relief to look at from the front, lit by the room. It uses every shade of grey.
- The lithophane maker makes a thin panel to look at with light behind it. The thickness range is tuned for light passing through plastic.
- The PNG to STL converter is for logos and icons with flat areas of colour. It makes a clean two-level shape (raised or not) instead of a gradient, which prints much crisper for graphics.
JPG, PNG and photos from your phone
Any picture format a browser can open works: JPG straight from a phone camera, PNG screenshots and drawings, WebP images from the web, even GIF and BMP. JPG photos are the most common and work well, with one thing to watch: JPEG compression leaves faint square blocks, especially in skies and smooth walls, and the relief turns them into tiny bumps. A smoothing of 1 or 2 hides them. Phone photos are also far larger than needed; the converter scales them to the detail you choose, about 400 pixels across for a 100 mm relief at the default, so there is no need to resize first. For pictures of people and pets, crop tightly to the subject and use a plain background, because everything in the frame becomes height. If you want light to shine through the photo instead of a relief to look at, the lithophane maker is the better tool for the same JPG.
Settings explained
Width sets the finished size; the height follows from the picture's proportions. Relief height is the difference between the lowest and highest point. 2 to 4 mm suits wall art and coasters; up to 10 mm gives dramatic sculptures but needs more filament. Base thickness keeps the model stiff; 2 mm is enough for anything up to 150 mm wide. Detail controls how many samples per millimetre are used. Above 4 the file grows quickly without much visible gain on an FDM printer. Smoothing blurs the picture slightly before it becomes height; one or two passes remove noise from JPEG compression and camera grain.
Printing the relief
Print reliefs flat, picture side up. Use a small layer height (0.12 to 0.16 mm) so each brightness step becomes a gentle slope instead of a visible staircase. Two or three walls and 10 to 15% infill are enough because most of the model is solid detail near the top. A grey or white filament shows the relief best; afterwards, a quick dry-brush of darker paint into the low areas makes the image jump out.
For a coaster, print the round coin shape at 90 mm wide with a 1.5 mm relief, then add felt or cork to the bottom. For wall art, print a 150 to 200 mm tile and hang it with a keyhole slot cut into the back in your slicer.
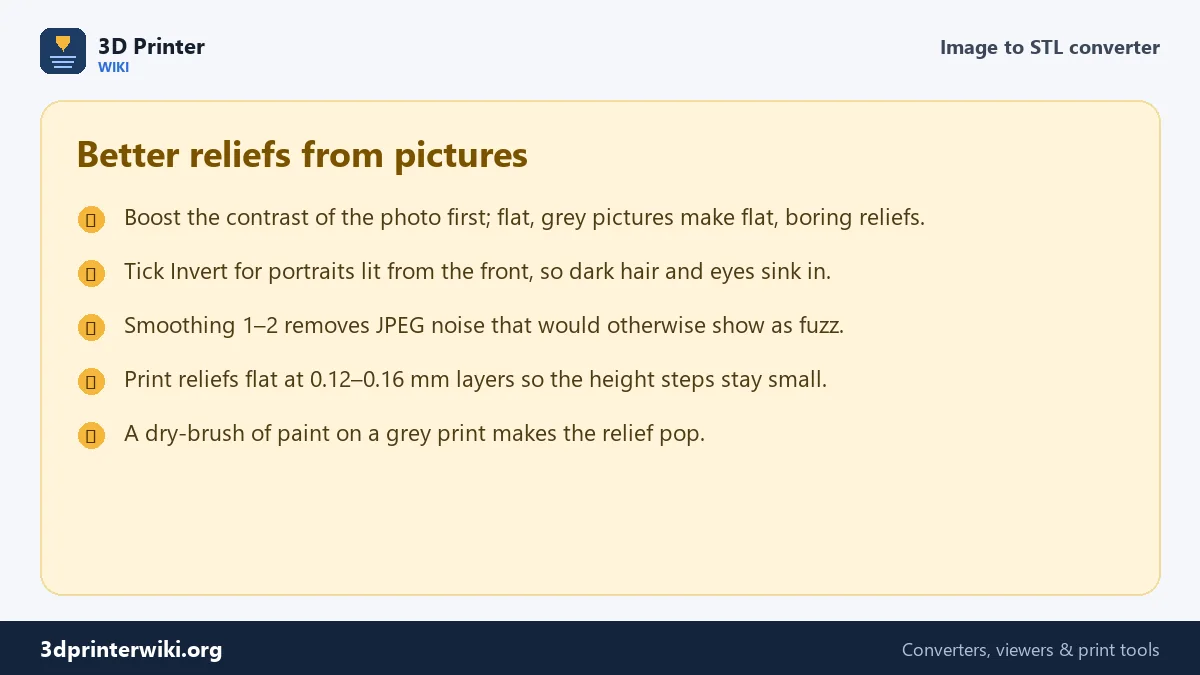
Image to STL questions
Can you convert a JPG or photo to STL?
Yes. Choose the JPG on this page and it becomes a relief STL in a few seconds. PNG, WebP, GIF and BMP work too.
Can AI turn an image into a full 3D model?
AI image-to-3D tools guess the back and sides of an object from one photo. This converter does something different and exact: it turns the picture itself into a relief. For a printable picture, a relief is usually what you want.
How do I make a 3D model from a picture for free?
Use this page. There is no sign-up and no limit, and the STL is yours to print or sell.
What is the best picture for an image to STL conversion?
A sharp picture with strong contrast and a plain background. Line drawings and high-contrast portraits give the clearest reliefs.
Can I make a coin or medal from a picture?
Yes. Choose Round coin / medallion as the shape. The picture is cut to a circle with straight sides, ready to print.
Why is my STL file so big?
A relief has a lot of detail: about two triangles per sample on top and the same underneath. Lower Detail to 2 or 3 to make the file smaller.
More 3D printing tools
Updated November 2026 · How these tools work