G-code editor
Change a sliced print without slicing it again: pauses, filament changes, temperatures and more.
Find, replace and clean up
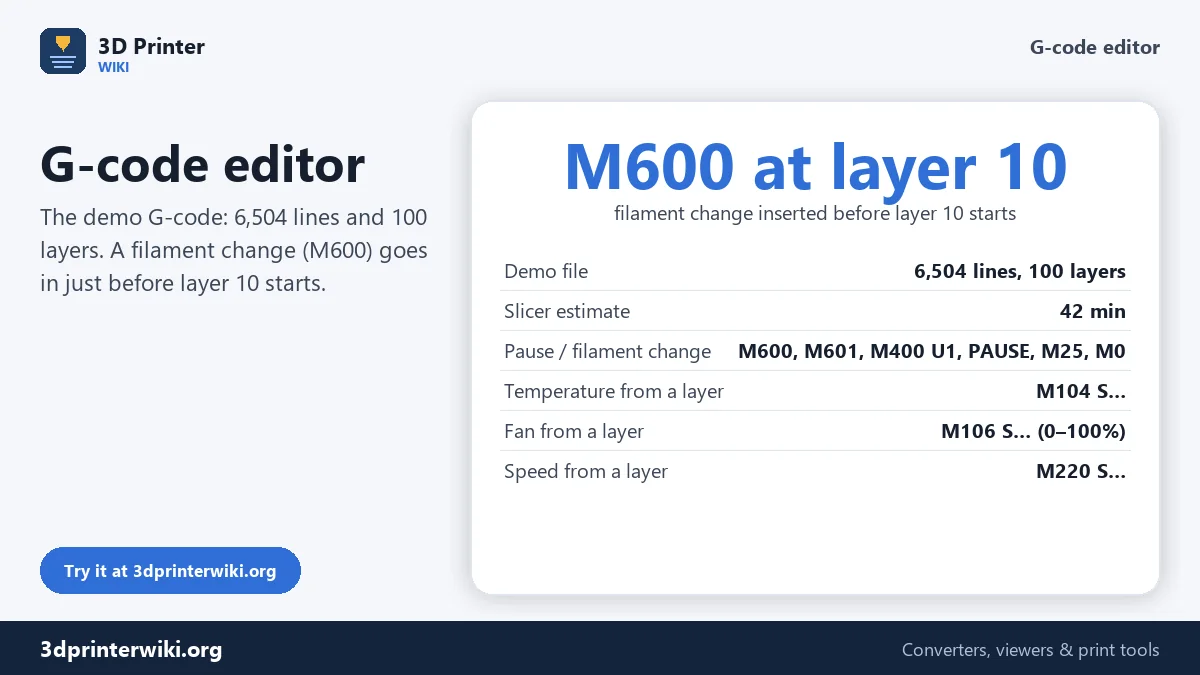
Some changes to a print only become clear after slicing: you want to swap filament at a certain height to print a two-colour sign, pause to drop magnets or nuts into a cavity, raise the temperature for the top half, turn the fan down for a bridge, or fix one setting in a file someone sent you. Going back to the slicer means having the original model and project. This G-code editor works on the sliced file directly. It finds the layers, lets you add changes at any layer, shows you exactly where they go, and saves the edited G-code.
How to edit a G-code file
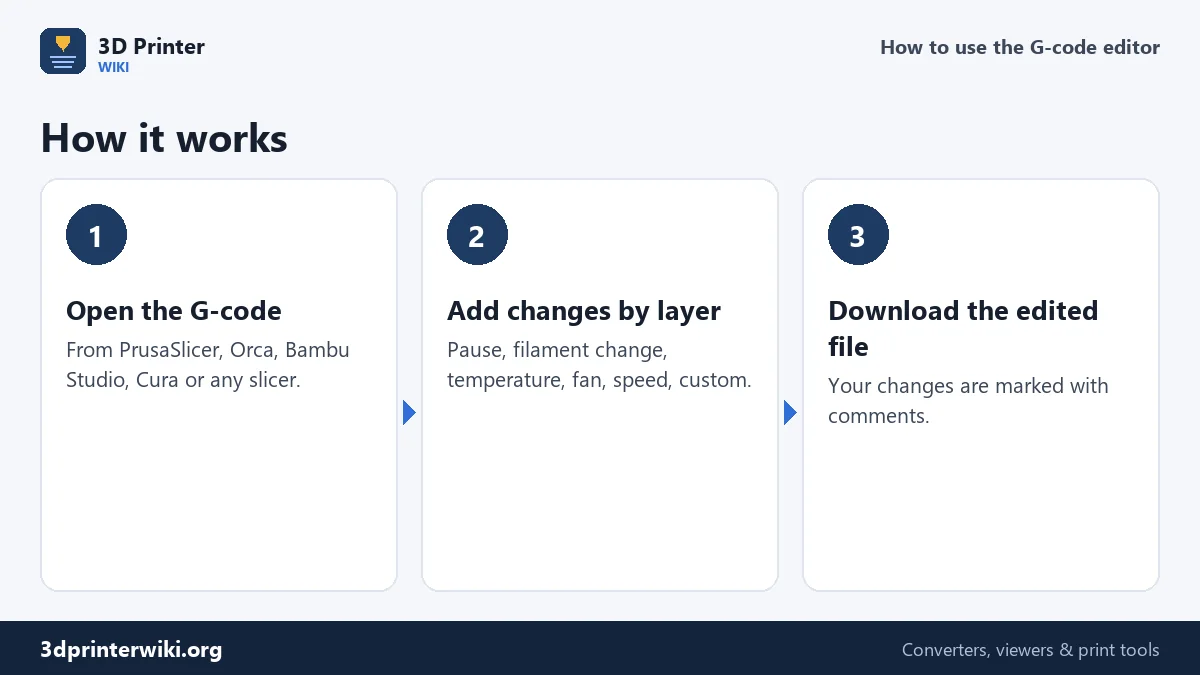
- Open the G-code on the box. The editor reports the number of lines and layers, the slicer that made it and the slicer's time estimate when the file has one.
- Choose a change: pause or filament change, nozzle temperature, bed temperature, fan speed, print speed, or custom G-code.
- Enter the layer and the value. The preview below shows the lines around that layer's start and where your change goes.
- Press Add change. Add as many as you like; the list shows them all, and each can be removed again.
- Download the edited G-code and print it as usual. The original file on your computer stays unchanged.
How layers are found
Modern slicers mark every layer with a comment: ;LAYER_CHANGE in PrusaSlicer and OrcaSlicer, ; CHANGE_LAYER in Bambu Studio, ;LAYER:12 in Cura. The editor uses those markers when they are there, and reads each layer's height from the ;Z: comment or the next Z move. Files without markers, from older slicers or custom tools, are handled by following the Z moves instead: a new layer starts when the first extrusion happens at a new, higher Z. That's how the demo file on this page is read, a spiral vase of 6,504 lines with 100 layers of 0.25 mm. Layer numbers start at 1, the first layer.
Every change is inserted just before the chosen layer begins. A pause at layer 10 means layers 1 to 9 are printed, then the printer pauses, then layer 10 is printed on top.
Pauses and filament changes
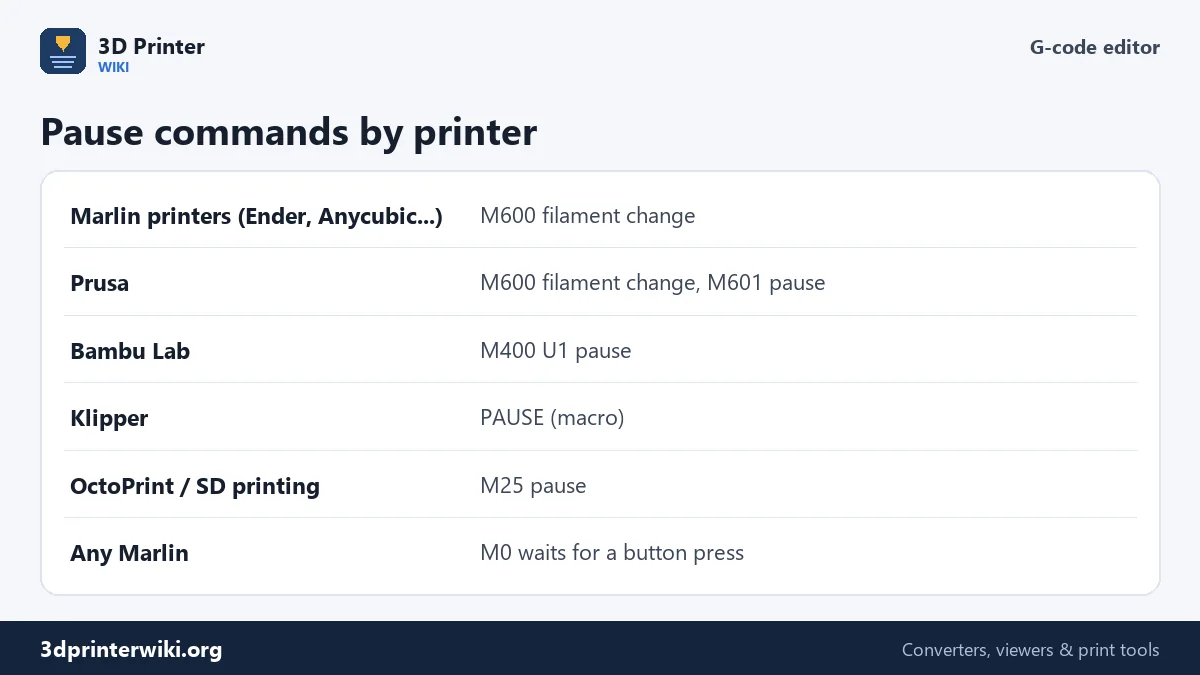
The right pause command depends on the printer, so the editor offers the common ones. M600 is a filament change on Marlin and Prusa printers: the head parks, the filament is unloaded, and the printer waits for new filament before carrying on. M601 pauses a Prusa printer. M400 U1 pauses a Bambu Lab printer. PAUSE is the usual macro on Klipper. M25 pauses a print running from an SD card or OctoPrint, and M0 waits for a button press on Marlin. Not every printer supports every command, so try your pause once on a small test print before relying on it for a long job.
Temperature, fan and speed
A temperature change inserts M104 S… for the nozzle or M140 S… for the bed. These don't wait, so the print continues while the temperature moves, which takes a few seconds; add the change a layer early if timing matters. A fan change inserts M106 S… with your percentage converted to the 0 to 255 range; the slicer may set the fan again at later layers, so check the file if you want the new speed to stay. A speed change inserts M220 S…, which scales all following moves by that percentage. Custom G-code lets you insert anything else, such as a message on the display with M117, a different flow with M221, or a beep with M300.
Find, replace and clean up
Under Find, replace and clean up you can replace exact text across the whole file, for example every M106 S255 with M106 S204 to cap the fan at 80%. Remove comments strips comment text to make large files smaller, while keeping the layer, type and time markers that printers and viewers use. Every edit you insert is labelled with a comment line, so you can always find it later in the file. Binary G-code (.bgcode) from newer Prusa printers can't be edited as text; export plain G-code from PrusaSlicer by turning off Binary G-code in the printer settings.
To see what a command means, paste it into G-code commands explained. To check the result layer by layer, open it in the G-code viewer.
G-code editor questions
How do I add a pause at a layer in G-code?
Open the file here, choose Pause / filament change, pick your printer's pause command and the layer, press Add change, and download.
How do I add a filament change at a certain height?
Find the layer number at that height in your slicer's preview, then add an M600 filament change at that layer here.
Can I edit Bambu Lab G-code?
Yes, if you export it as plain G-code. Use M400 U1 as the pause command on Bambu printers.
Can I change the temperature halfway through a print?
Yes. Add a nozzle or bed temperature change at the layer where it should start.
Will editing G-code damage my printer?
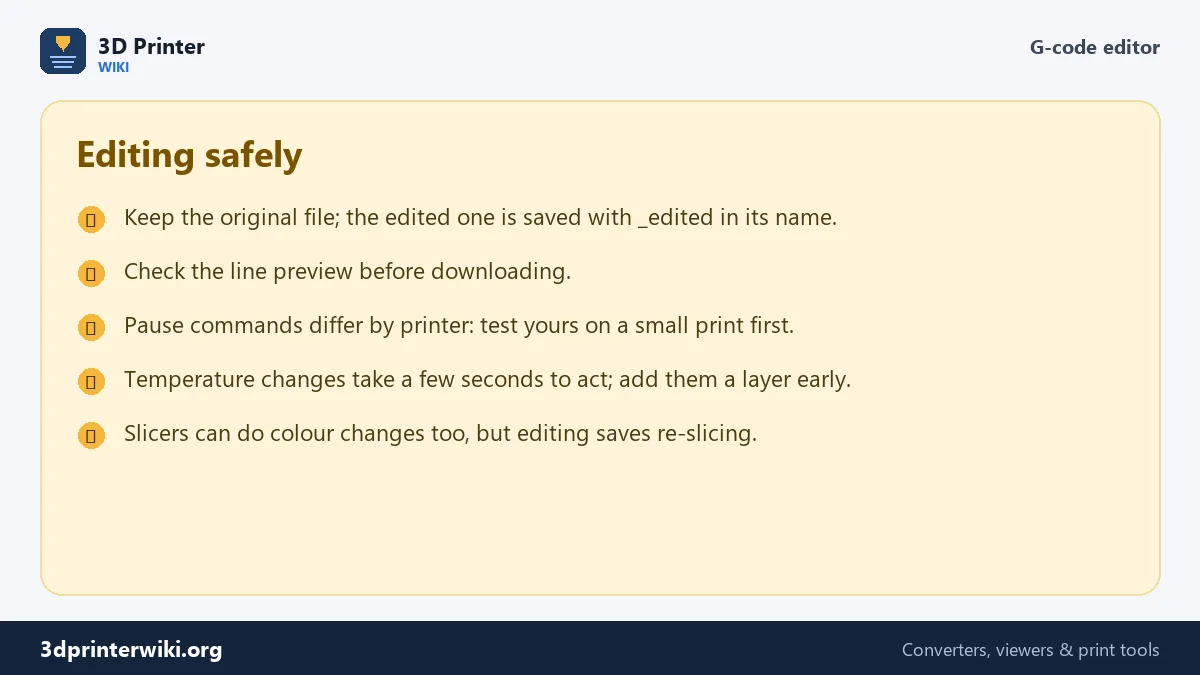
Not with these changes, but wrong temperatures or commands can spoil a print. Check the preview and test on a small print first.
Can I open .bgcode files?
No. Export plain G-code from PrusaSlicer instead.
How do I find the right layer number?
In your slicer's preview, drag the layer slider to the height where the change should happen; the slider shows the layer number and height. The editor's preview here shows the height of each layer too.
Does the editor change the slicer's time estimate?
No. Pauses and speed changes affect the real time, but the estimate stored in the file stays as the slicer wrote it.
More 3D printing tools
Updated November 2026 · How these tools work