PNG to STL converter
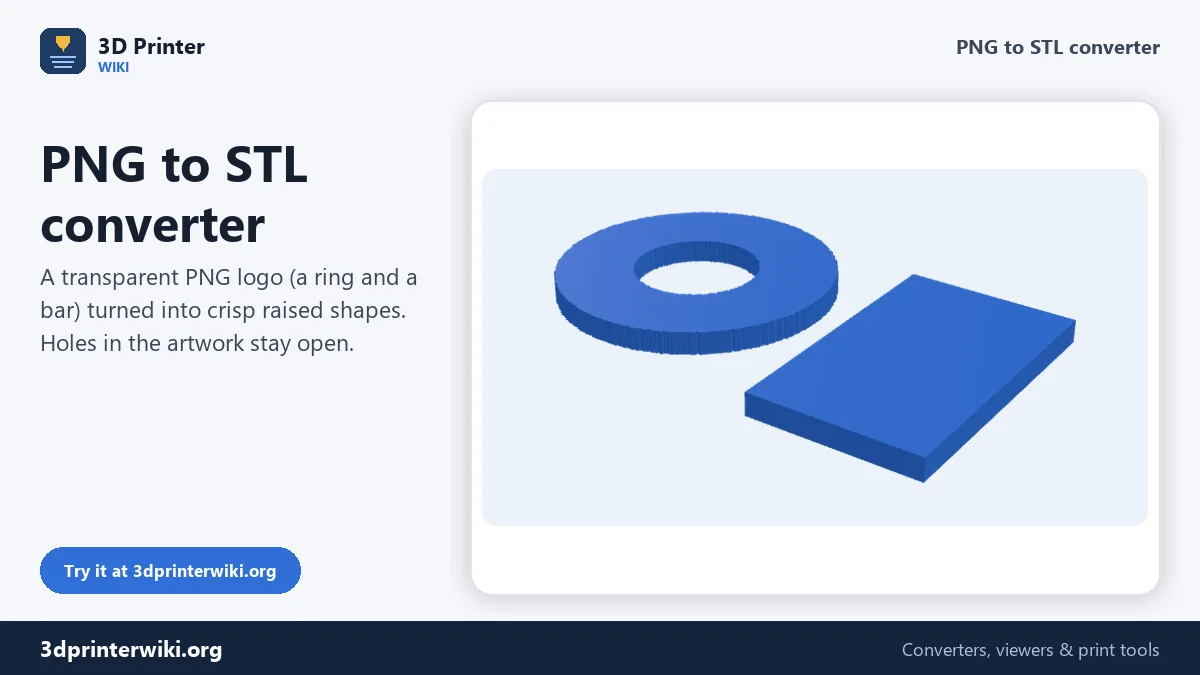
Turn a logo or icon into a raised 3D shape. Transparent PNGs work best.
More options
Logos, icons, silhouettes and stencils are usually flat artwork: a shape in one colour on a background. This PNG to STL converter turns that shape into a raised 3D object. Every pixel that belongs to the artwork rises to the height you choose, and everything else stays empty, so you get crisp edges and open holes instead of the soft slopes a photo relief would give.
If your PNG has a transparent background, the converter uses the transparency to find the shape automatically. Black artwork on white works too: tell it to raise the dark pixels, and set the threshold if the art is faint.
How to convert a PNG to STL
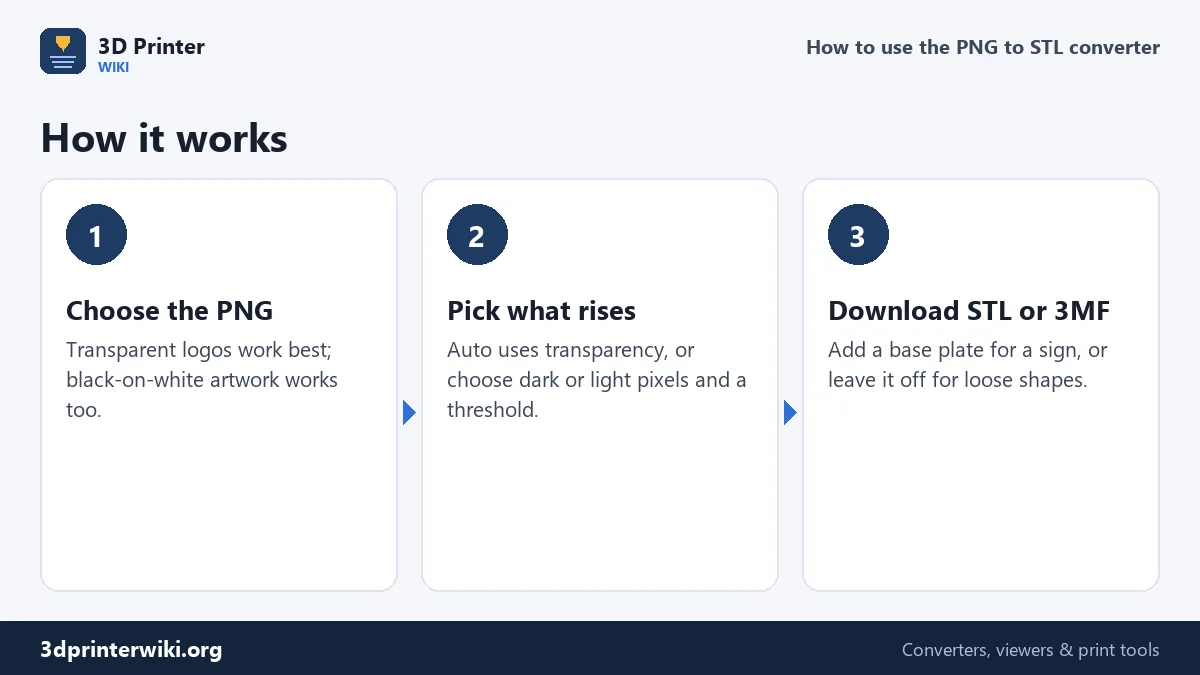
- Choose the PNG. The bigger the picture, the smoother the edges. 1000 pixels wide or more is ideal.
- Pick which part is raised. Auto raises everything that is not transparent. If the PNG has no transparency, Auto raises the dark pixels. Choose Light pixels for white artwork on a dark background.
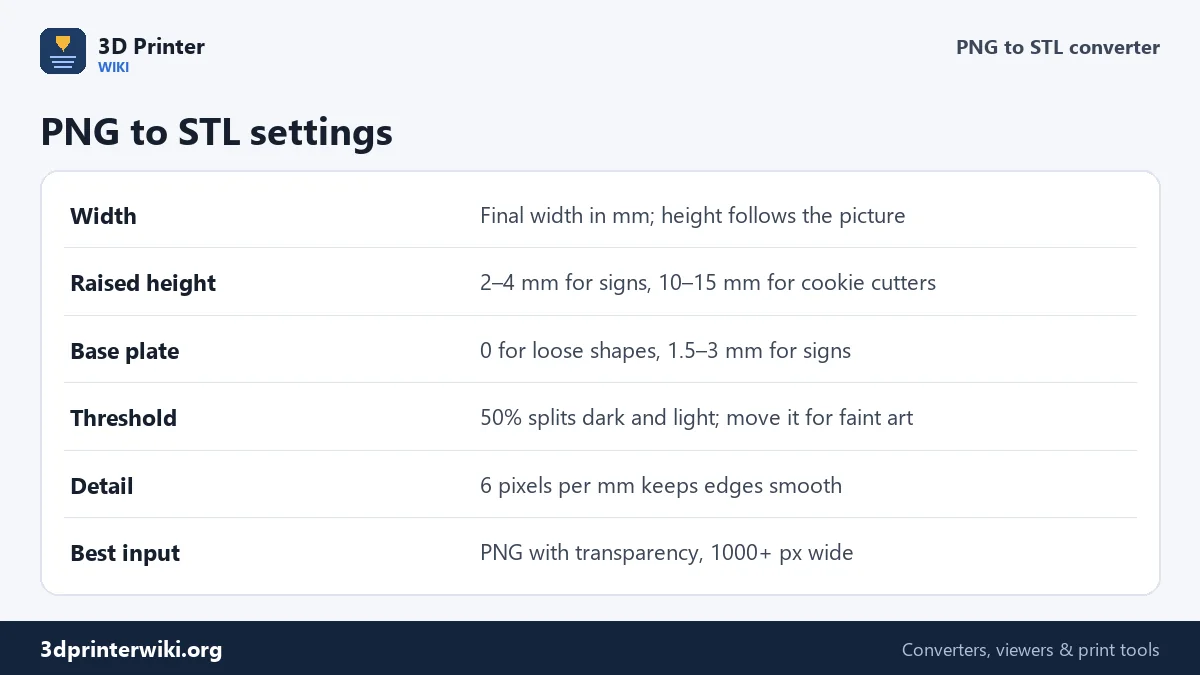
- Set the size. Under More options choose the width in millimetres, the raised height and, if you want one, a base plate.
- Download the STL, or the 3MF to keep the logo and plate as two parts for a two-colour print.
Why logos need a different tool from photos
A photo has thousands of shades, and a relief made from it rises and falls smoothly. A logo has two states: ink or no ink. If you push a logo through a photo relief tool, you get blurry, sloping edges where the anti-aliased border pixels sit, and the background becomes a thin floor you have to cut away. This converter makes a clean decision for every pixel instead, so the edges are vertical and the background is simply not there.
The Threshold setting decides where that line falls. At 50%, any pixel darker than mid-grey counts as artwork. Lower it to keep only the darkest parts (good for removing a light grey shadow), or raise it to include faint lines.
What people make with PNG to STL
- Signs and plaques: logo 2 mm high on a 2 mm base plate, printed in two colours.
- Cookie and clay cutters: no base plate, 12 mm raised height, then use your slicer to print only the outline walls (vase or 0% infill with two walls). For a proper cutter with a sharp edge, draw a thin outline in your image editor first.
- Stencils: invert the selection (raise the light pixels) to get a plate with the logo cut out.
- Badges, magnets and keyrings: logo on a small plate, then glue a magnet on the back.
- Wall art: silhouettes of animals, skylines or maps at 200 to 250 mm wide.
Getting smooth edges
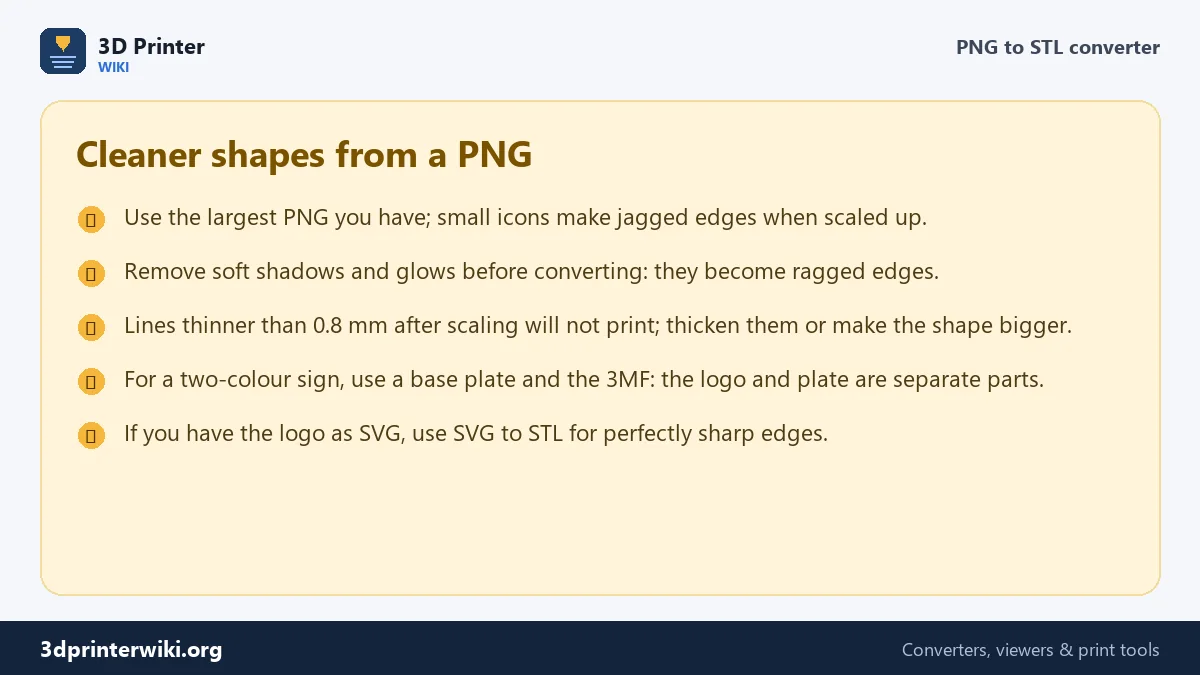
The model follows the pixels of your PNG, so the pixel size decides how smooth curves look. At the default Detail of 6 pixels per millimetre, each pixel is about 0.17 mm, smaller than a 0.4 mm nozzle can draw. That is why a decent-sized PNG prints with smooth-looking curves. If your PNG is small, say a 200-pixel icon stretched to 80 mm, each original pixel covers 0.4 mm and the steps start to show. Use a bigger source image when you can.
For perfectly sharp curves at any size, use a vector file. If the logo exists as SVG, the SVG to STL converter extrudes the real curves, and the file is smaller too.
With or without a base plate
Leave Base plate thickness at 0 and every separate part of the logo becomes a separate solid shape: loose letters, a loose icon, a loose ring. That is what you want for pieces you will glue onto something, or for cutters. Set a base plate of 1.5 to 3 mm and the shapes stand on a rectangle the size of the picture, which keeps everything together and in position.
With a base plate, the 3MF download holds two objects, base and logo. In Bambu Studio, PrusaSlicer or OrcaSlicer, assign a different filament to each for a two-colour sign without any painting.
Troubleshooting
"Nothing was raised"
The converter could not find any artwork with the current setting. If the PNG has no transparency and the logo is light on dark, choose Light pixels. If the art is very faint, raise the threshold.
The background is raised instead of the logo
Switch between Dark pixels and Light pixels. Auto mode guesses from transparency; a PNG with a white background and no transparency needs Dark pixels.
Thin lines are missing in the print
They are thinner than your nozzle can print after scaling. Make the model wider or thicken the lines in the image.
PNG to STL questions
How do I convert a PNG to an STL file?
Choose the PNG on this page, check which part is raised, set the width and height under More options, and press Download STL.
Can I convert a PNG to STL in Tinkercad?
Tinkercad imports SVG, not PNG. Convert the PNG here, then import the STL into Tinkercad if you want to combine it with other shapes.
Do I need a transparent PNG?
No, but it helps. With transparency, Auto mode picks the logo perfectly. Without it, choose Dark or Light pixels and adjust the threshold.
Can I make a cookie cutter from a PNG?
Yes. Raise the shape about 12 mm with no base plate, then slice it with no top layers and two walls, or draw a thin outline of the shape first so the cutter is a single wall.
What size should my PNG be?
Aim for at least 10 pixels per millimetre of the final print: 1000 pixels wide for a 100 mm sign.
Is PNG to STL the same as image to STL?
No. Image to STL makes a smooth relief from every shade of grey, which suits photos. PNG to STL makes flat, sharp shapes, which suits logos and icons.
More 3D printing tools
Updated November 2026 · How these tools work