PLY to STL converter
Take a 3D scan saved as PLY and turn it into an STL your slicer accepts.
Same file as: · · · ·
More options
PLY is the format many 3D scanners and scanning programs export, because it can store colour for every point and keeps files compact. Slicers, though, expect STL or 3MF. This converter opens a PLY scan, shows it in 3D with its real size and triangle count, and saves an STL you can slice. It tells you straight away if your PLY is only a point cloud, which can't be printed until it is turned into a surface.
How to convert PLY to STL
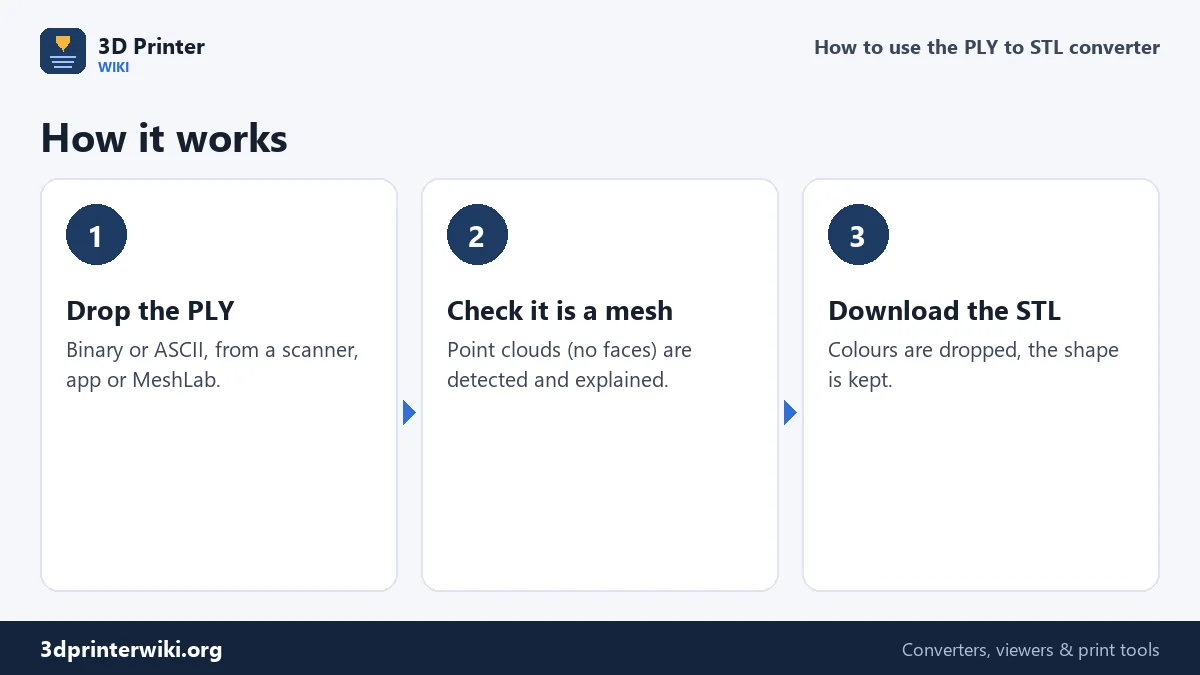
- Drop the PLY file on the box. Binary (little or big endian) and ASCII PLY files are read.
- Check the preview. The line under the model shows its size in millimetres, the number of triangles and the volume.
- Adjust if needed. Under More options you can change the units and the up axis, and decide whether the scan is moved onto the build plate.
- Download the STL. It is a binary STL, the smallest kind.
What a PLY file is
PLY, the Polygon File Format, was created at Stanford in the 1990s to store 3D scans, which is why it is also called the Stanford Triangle Format. A PLY file starts with a short text header that lists what it contains, for example "element vertex 2562" and "element face 5120", and which properties each element has: coordinates, colours, normals, confidence values. The data follows either as text or as compact binary numbers.
Because the header is flexible, PLY can hold a full mesh with colours, or just a list of points with no faces. Scanning software such as Revo Scan, Creality Scan, MeshLab, CloudCompare and many photogrammetry tools can export it.
Point cloud or mesh?
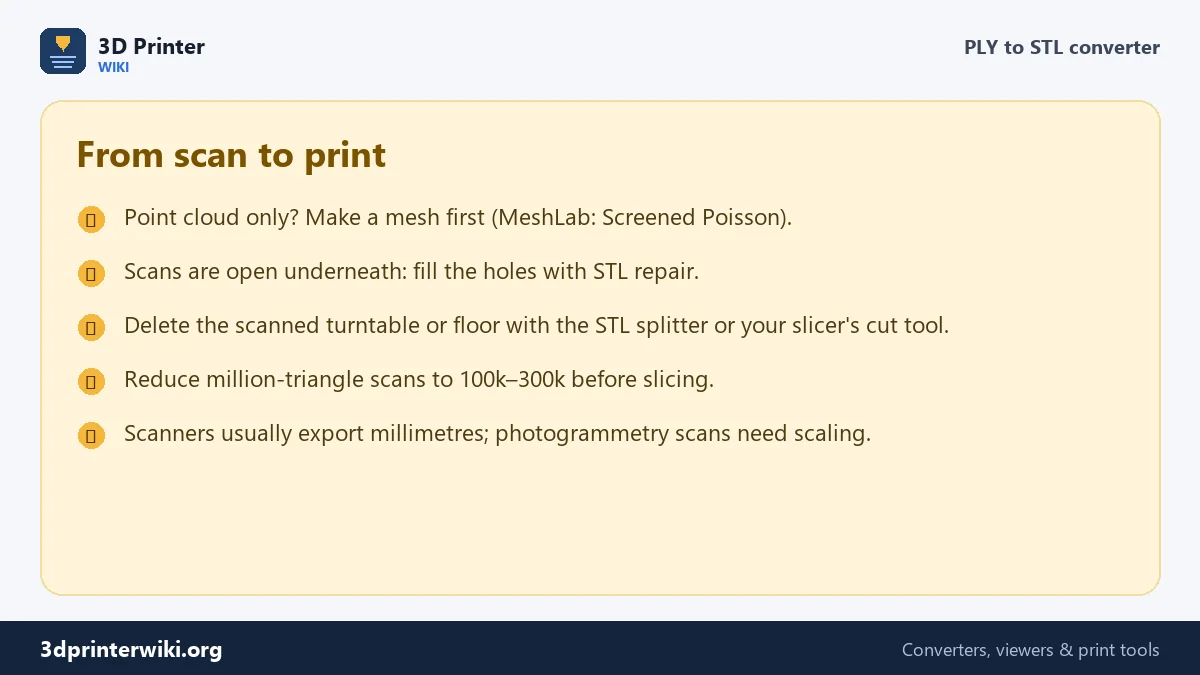
A 3D printer needs a closed surface. A point cloud is just millions of dots with nothing joining them. If your PLY has no faces, the converter says so instead of producing an empty file. To turn a point cloud into a mesh, the scanner's own software usually has a "mesh" or "fuse" step; check it before exporting. Otherwise, the free program MeshLab can do it with Surface Reconstruction: Screened Poisson, which produces a closed mesh you can save as PLY or STL.
What happens to the colours
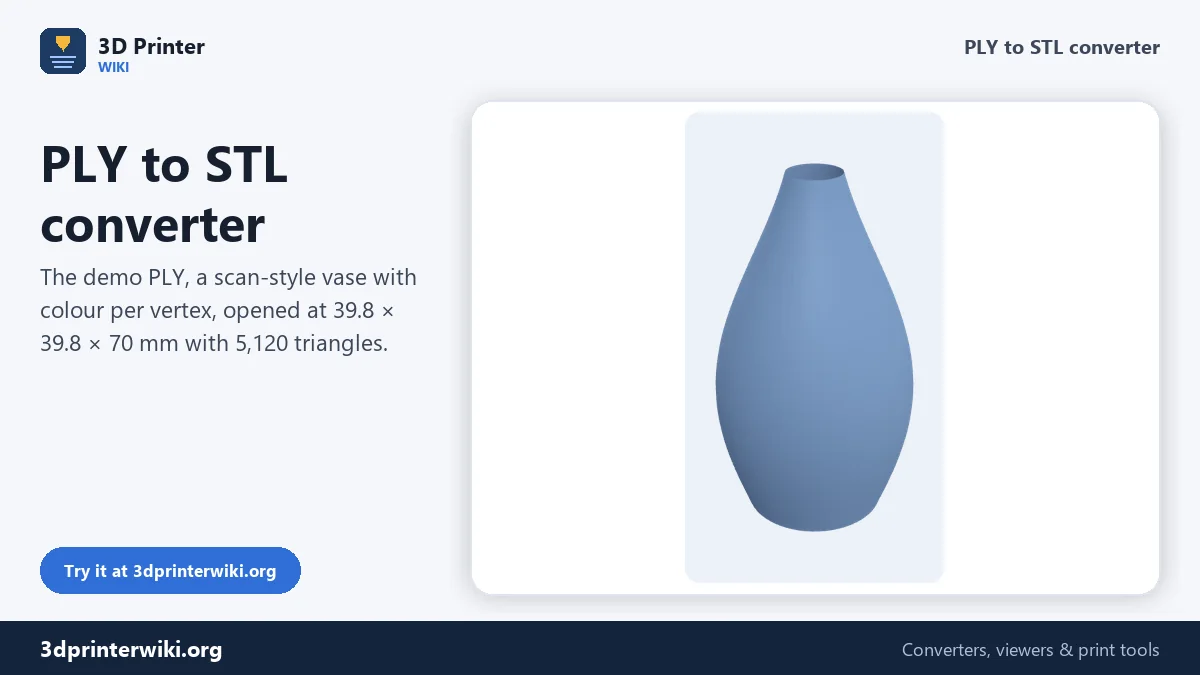
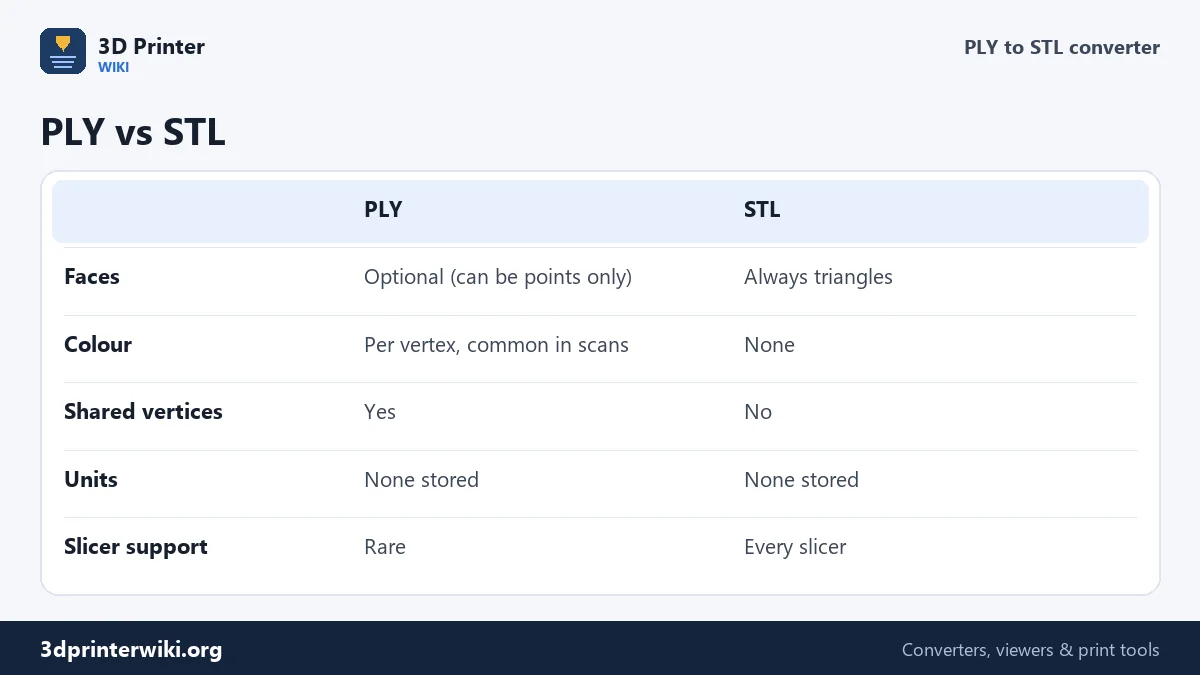
Scans usually store a colour for every vertex, which is why they look so real on screen. STL can't store colour, so the colours are dropped and only the shape is kept. The demo file on this page is a scan-style vase with colours per vertex; it converts to a plain STL of 5,120 triangles. To print a scan in colour, you need a full-colour printing service or a multi-colour printer with painting tools in the slicer. Otherwise, the usual approach is to print in one colour and paint by hand.
Preparing a scan for printing
- Close the holes. Almost every scan is open where the object stood on the turntable or table. The STL repair tool fills holes and fixes flipped faces so the slicer sees a solid.
- Remove leftovers. Bits of the turntable, floor or hands often come along as loose pieces. The STL splitter separates them so you keep only the object.
- Lower the triangle count. High-resolution scans run to millions of triangles. 100,000 to 300,000 is plenty for any FDM print; use reduce STL file size.
- Check the scale. Structured-light scanners usually export real millimetres. Photogrammetry has no real scale unless you measured a reference, so set the size you want with the STL scaler.
- Give it a flat base. Cut the bottom flat in your slicer so the scan stands and sticks to the bed.
Orientation
PLY has no standard up axis, and scanners and apps differ. The converter keeps the coordinates as they are and treats Z as up, like a printer does. If your scan comes out lying on its side, choose Y is up under More options, or rotate it in the STL editor.
Doing it in MeshLab instead
If you already use MeshLab to clean scans, it can also save STL: File → Export Mesh As, choose STL, and tick binary in the options. MeshLab is the better choice when the scan needs heavy work, such as removing noise, smoothing or rebuilding the surface from points. This page is quicker when the scan is already a clean mesh and only needs to become an STL, especially on a computer without MeshLab installed. Both give the same triangles, because a conversion from PLY to STL doesn't change the shape; it only drops the colours and writes every triangle out in full.
PLY to STL questions
How do I convert PLY to STL?
Drop the PLY on this page, check the preview, and press Download STL.
Can I 3D print a PLY file directly?
Most slicers don't open PLY; they want STL, 3MF or OBJ. Converting to STL works everywhere.
Why does my PLY say it is a point cloud?
It contains points but no faces. Create a mesh in your scanner software or MeshLab (Screened Poisson) first.
Are the scan colours kept?
No. STL stores only the shape. Keep the PLY if you need the colours later.
Why is the STL bigger than the PLY?
STL repeats every corner for each triangle, while PLY stores each corner once and refers to it.
How do I convert PLY to STL in MeshLab?
File → Export Mesh As, choose STL, and save as binary. MeshLab is free and also cleans and meshes scans.
Can I convert a point cloud PLY to STL?
Not directly. Turn it into a mesh first, for example with Screened Poisson in MeshLab, then convert.
More 3D printing tools
Updated November 2026 · How these tools work