G-code to STL converter
Rebuild a printable model from a .gcode file when the original STL is gone.
More options
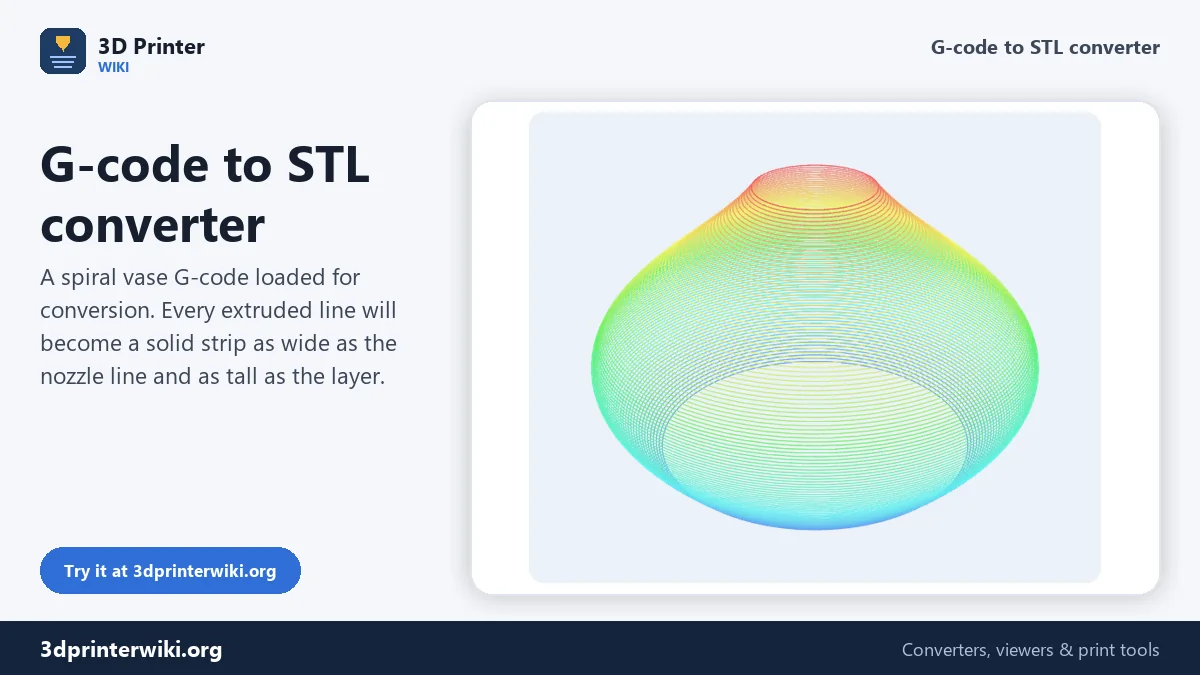
It happens more often than you would think: the STL was on an old laptop, the model page disappeared, a friend only sent you the G-code, or you want to print a part you sliced years ago on a new printer. G-code only describes how a nozzle moved, not the shape itself. This converter reverses the process: every extruded line in the G-code becomes a small solid strip, as wide as the extrusion and as tall as the layer, and together they rebuild the printed object as an STL.
How to convert G-code to STL
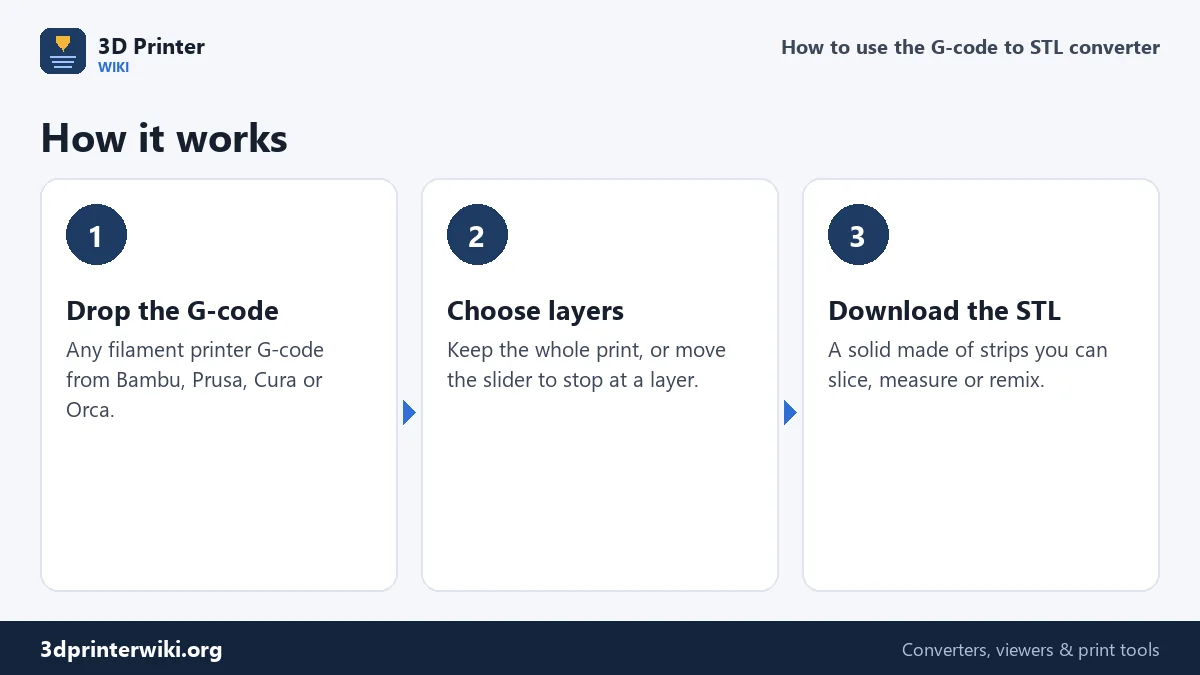
- Drop the .gcode file. The toolpaths are drawn layer by layer, with the layer count, filament use and print time underneath.
- Choose how far up to go. The layer slider sets the last layer included. Keep it at the top for the whole print, or stop earlier to rebuild only the lower part.
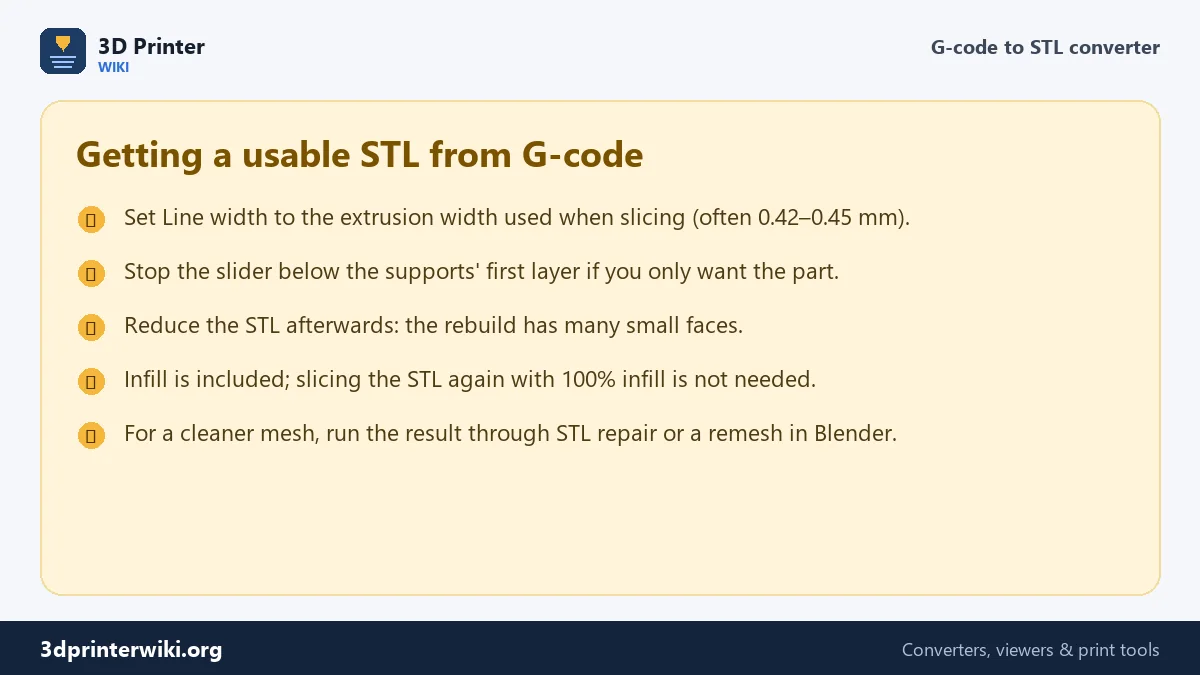
- Check the line width under More options. It should match the extrusion width the file was sliced with. Layer height is taken from the file automatically unless you set it.
- Download the STL.
How the model is rebuilt
For each extrusion move, the converter takes the start and end point, offsets them sideways by half the line width, and builds a box from the top of the layer down by one layer height. That box is the bead of plastic the printer laid down. With 0.45 mm lines on 0.2 mm layers, a 20 mm wall line becomes a strip 20 × 0.45 × 0.2 mm. Stack all those strips and you get the printed object, including its walls, top and bottom skins, infill and any supports or brim that were printed.
Because the strips follow the real toolpaths, the outside dimensions of the rebuilt model match the original print to within a fraction of the line width. Wall thickness and the number of walls are exactly what was printed, which also makes this a handy way to inspect a slice in a CAD program or a mesh tool.
Big files are normal
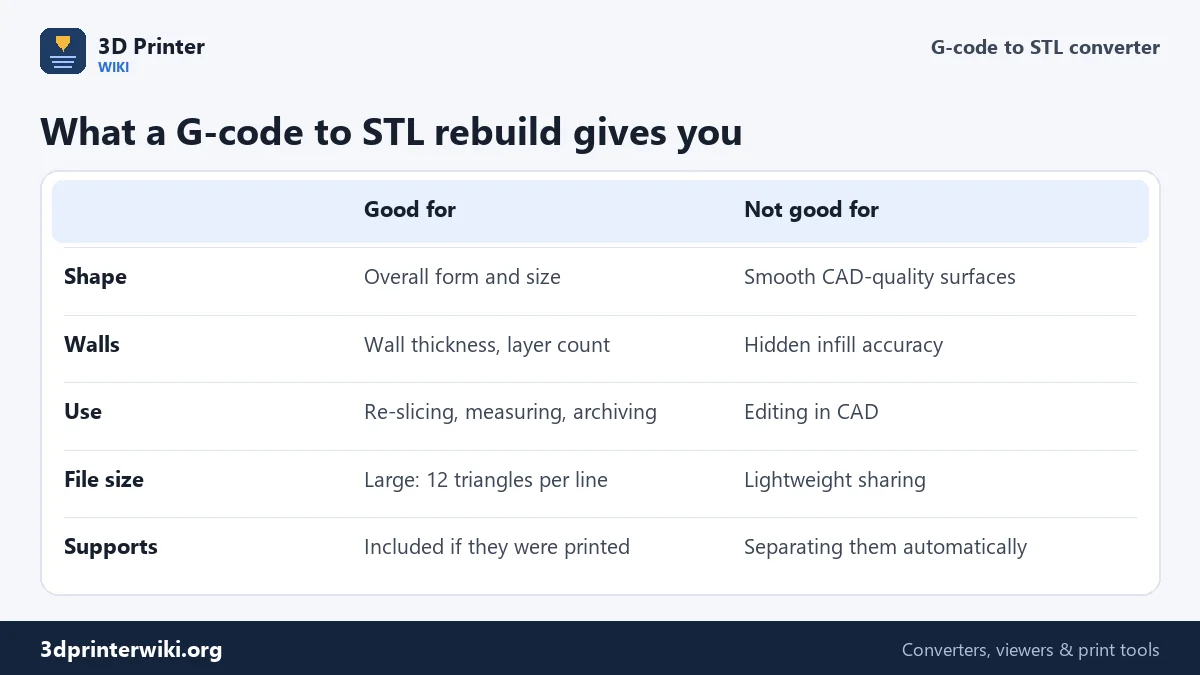
Every extrusion move becomes 12 triangles. A small calibration cube can have 10,000 moves; a big print can have several million. So the STL is much larger than the original model ever was. The converter warns you when a file has more than 600,000 moves. Two ways to keep it manageable: stop the slider below the top for a partial rebuild, or download the full STL and shrink it with the STL size reducer, which keeps the outer shape.
When this helps
- Recovering a lost model so you can slice it for another printer, material or nozzle.
- Remixing a print-only file, for example adding a name with the STL editor before printing again.
- Measuring a part you only have as G-code.
- Showing a slice in a render or a presentation: the strips look like the real print.
How good is the rebuilt STL?
Good enough to print again and to measure. It is not a clean surface model: the outside is made of the stepped edges of layers and the boxy ends of lines, so it looks like a print, not like the CAD part it came from. Slicing it again works because slicers only need the outer surface; the inner strips simply get filled. If you want a single smooth shell, open the STL in Blender and apply a Remesh modifier, or run it through the STL repair tool to tidy loose pieces.
Line width and layer height
The rebuilt model is made from boxes that follow every extrusion move. Their width and height decide how close the result looks to the real print. The converter reads the layer height from the Z moves and the line width from slicer comments when it can; under More options you can set both by hand. Use the values from the slicer profile that made the file, typically a 0.42 to 0.45 mm line width for a 0.4 mm nozzle and 0.2 mm layers. Too narrow, and the walls show gaps between lines; too wide, and neighbouring lines overlap and the model looks bloated.
The rebuild shows the print as it was sliced, including the seam, ironing passes and the first layer squish, which makes it a good way to inspect what the printer will do. It is not a replacement for the original design file: every line is a separate box, so the STL is heavy and not something to edit in CAD.
Limits
Arc moves (G2/G3) are taken as straight lines between their end points. Binary .bgcode files must be exported as plain G-code first. G-code from resin printers, laser cutters and CNC routers is not supported: there is no extruded bead to rebuild.
G-code to STL questions
Can you convert G-code back to STL?
Yes. This converter rebuilds the printed object from the extrusion moves, giving you an STL with the same size and shape as the print.
Is the STL the same as the original model?
Not exactly. It is the printed version: layer steps and line edges included, smooth curves approximated by the toolpath. Size and form match closely.
Why is the STL so big?
Every extruded line becomes a small solid. Stop at a lower layer or reduce the STL afterwards.
Can I convert Bambu or Prusa G-code to STL?
Yes, plain .gcode from both works. Export plain G-code if you only have .gcode.3mf or .bgcode.
Are supports included?
Yes, everything that was extruded is included. Use the layer slider or the STL splitter to leave them out.
Can I edit a G-code file by converting it to STL?
Not really. The STL is a heavy mesh of extrusion lines. To change the print, edit the original model and slice it again.
Does this work with resin printer files?
No. Resin printers use sliced image files, not G-code. This tool is for filament printers.
More 3D printing tools
Updated November 2026 · How these tools work