STL splitter
Separate a file that holds several pieces into one file per piece.
More options
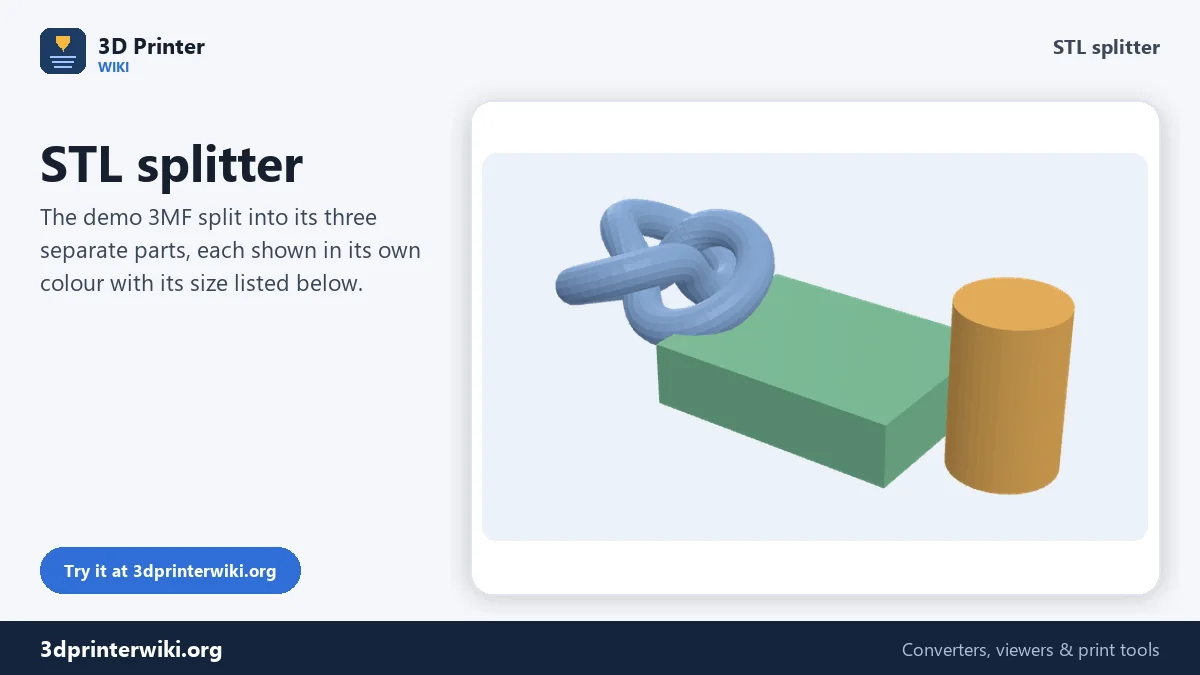
Many STL files hold more than one object: a whole kit on one plate, a model with its stand, all the pieces of a board game, a scan with loose specks floating around it. When you only want to reprint one piece, move parts around, or give each part its own colour, you need them as separate files. This STL splitter finds every separate piece in the file and saves each one as its own STL, or all of them as separate parts of one 3MF.
How to split an STL file
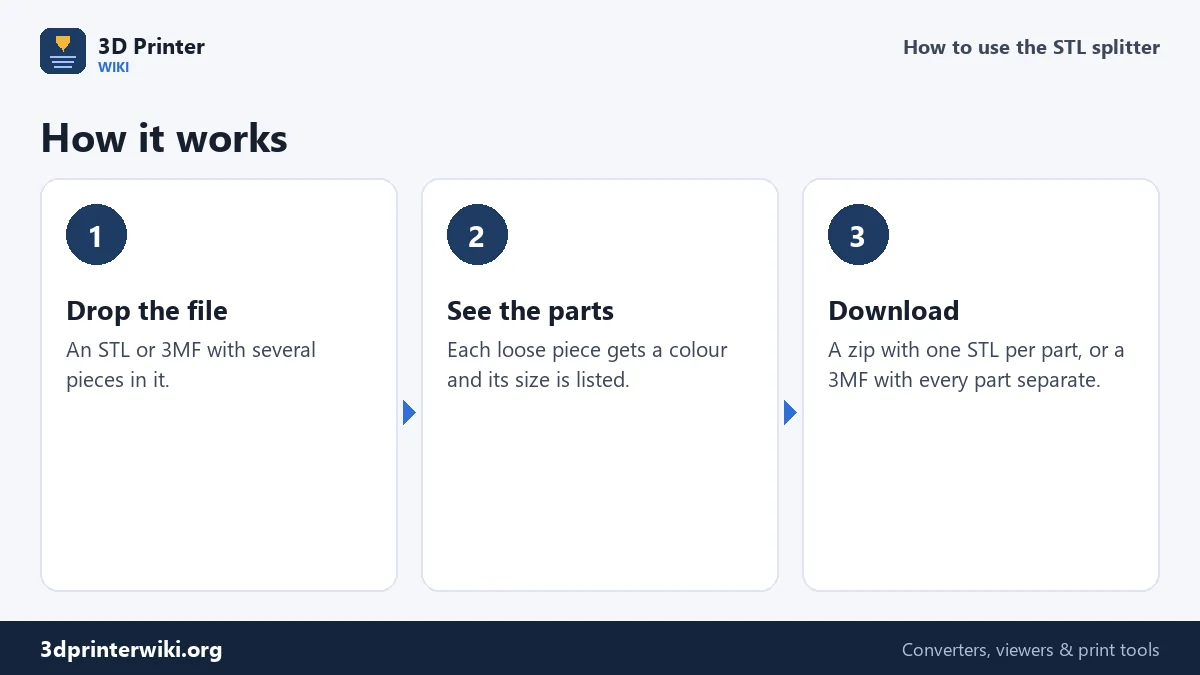
- Drop the STL (or a 3MF, OBJ, PLY).
- Look at the parts. Every separate piece gets its own colour, and the list under the preview gives each part's number and size.
- Download. Download all parts (zip) gives one STL per part. One 3MF with parts keeps them in one file as separate objects.
How the splitter decides what a part is
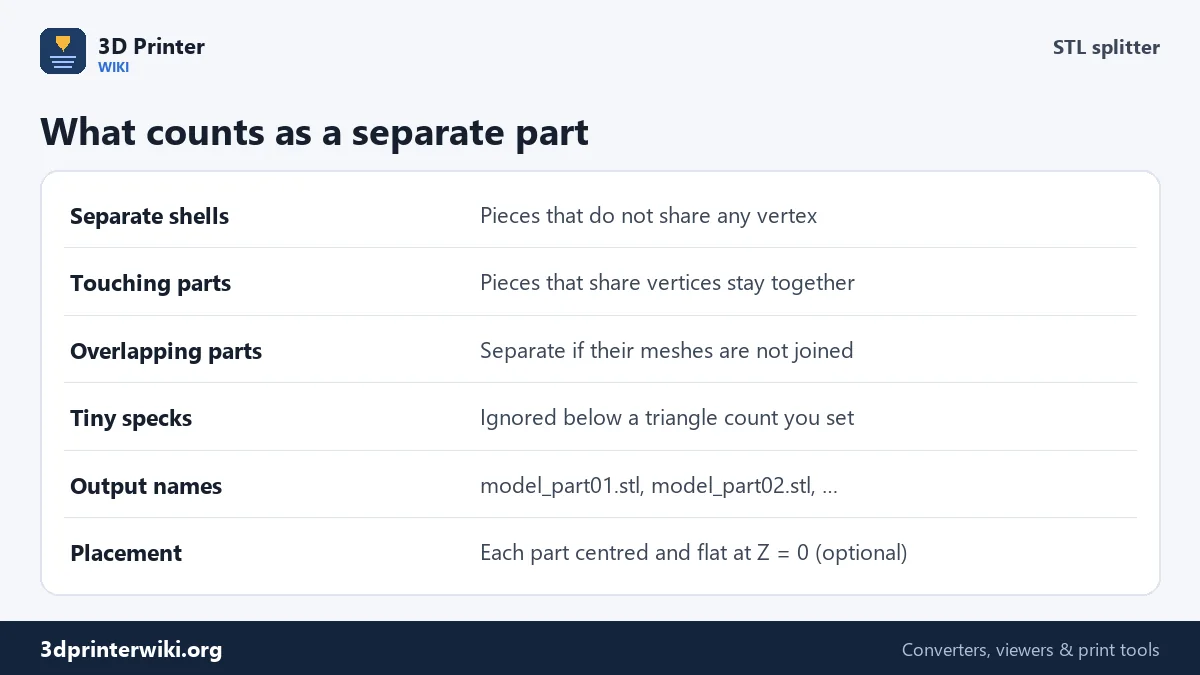
A mesh is a set of triangles connected at their corners. The splitter first merges corners that sit at the same spot, then follows connections from triangle to triangle. Everything that can be reached through shared corners belongs to one part. A piece that does not share a single corner with anything else is a separate part. That is exactly how a kit file is built, so a plate with 12 pieces splits into 12 files.
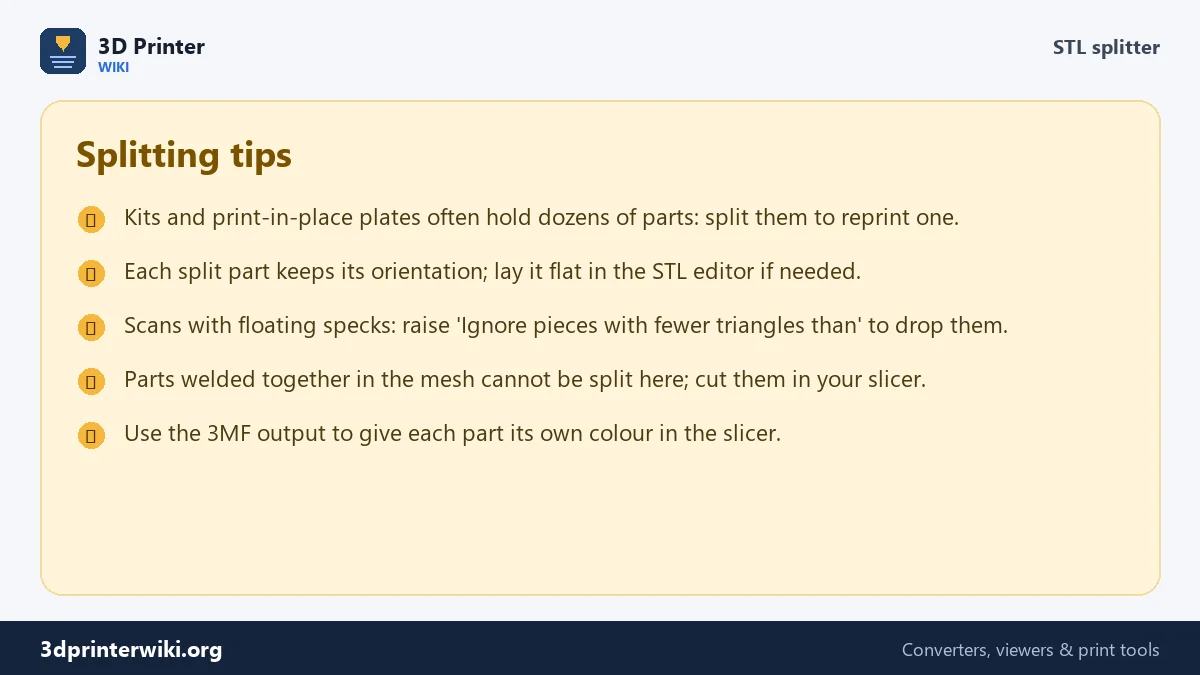
Two pieces that touch, overlap or were merged into one mesh in the modelling program share corners, so they stay together. This tool cannot cut a connected model apart; for that, use the cut tool in your slicer (Bambu Studio, OrcaSlicer and PrusaSlicer all have one) or a plane cut in Meshmixer or Blender.
Tiny specks and floating bits
3D scans and badly exported files often contain tiny floating pieces: a few triangles of noise, a stray vertex, a leftover helper object. They show up as extra parts with a handful of triangles. Ignore pieces with fewer triangles than under More options drops them; the default of 4 removes empty slivers, and raising it to 50 or 100 cleans up a noisy scan.
Where the parts end up
With Put every part flat on the bed ticked (the default), each part is moved so it is centred and its lowest point sits at Z = 0. That makes every file ready to slice on its own. Untick it to keep the parts where they were in the original file, which is useful when you want to put them back together later in CAD and need them to line up. The 3MF output always keeps the original positions, so the parts sit together as they did.
Typical jobs
- Reprinting one piece of a multi-part kit.
- Colour prints: split, then give each part a filament in the 3MF.
- Arranging a plate differently, or printing parts with different settings (supports for some, none for others).
- Cleaning scans of floating noise before printing.
- Sharing just one part of a bigger project.
Splitting versus cutting
Splitting and cutting sound alike but solve different problems. Splitting, which is what this page does, separates pieces that are already separate in the mesh. Nothing is changed: every triangle ends up in exactly one of the output files. Cutting makes new pieces by slicing through a connected model with a plane. That's what you need when a model is too big for your printer, or when you want to print a figure in two halves to avoid supports.
For cutting, use your slicer. Bambu Studio, OrcaSlicer and PrusaSlicer all have a Cut tool that slices along a plane and can add pins or dowel holes, so the halves line up when you glue them. Cura users can cut in Meshmixer or with a plugin. If you then need the pieces as separate STL files, export them from the slicer as a 3MF, drop that 3MF here, and download every piece on its own.
The splitter also never changes the shape of a part. Positions are only moved when Put every part flat on the bed is ticked, and then each part is shifted as a whole, not reshaped or rotated.
STL splitter questions
How do I split an STL into separate parts?
Drop it on this page. Each separate piece is found automatically; download them as a zip of STLs or as one 3MF.
Why doesn't my STL split?
All its pieces are connected: they touch or were merged into one mesh. Cut it in your slicer or Meshmixer instead.
Can I split a 3MF into separate STL files?
Yes. Drop the 3MF here, or use the per-part option on the 3MF to STL converter.
How do I separate an STL into parts in Bambu Studio?
Right-click the object and choose Split → To objects. This page does the same and gives you the parts as files.
Are the parts renamed?
Yes: they are numbered from the biggest to the smallest, like model_part01.stl, model_part02.stl and so on.
Can I split an STL in half to fit my printer?
Not with the splitter, which only separates pieces that are already loose. Use the Cut tool in your slicer to cut a connected model along a plane.
How many parts can the splitter handle?
There is no fixed limit. Noisy scans can contain thousands of specks; raise "Ignore pieces with fewer triangles than" to keep the list short.
Does splitting change my model?
No. Every triangle goes into exactly one part. Parts are only moved, if you choose to place them flat on the bed.
Can I split a 3MF that has several plates?
Yes. Every separate piece on every plate becomes its own part.
More 3D printing tools
Updated November 2026 · How these tools work