STEP to OBJ converter
Bring a CAD part into Blender or a renderer by converting the STEP file to OBJ.
Same file as: · · · ·
More options
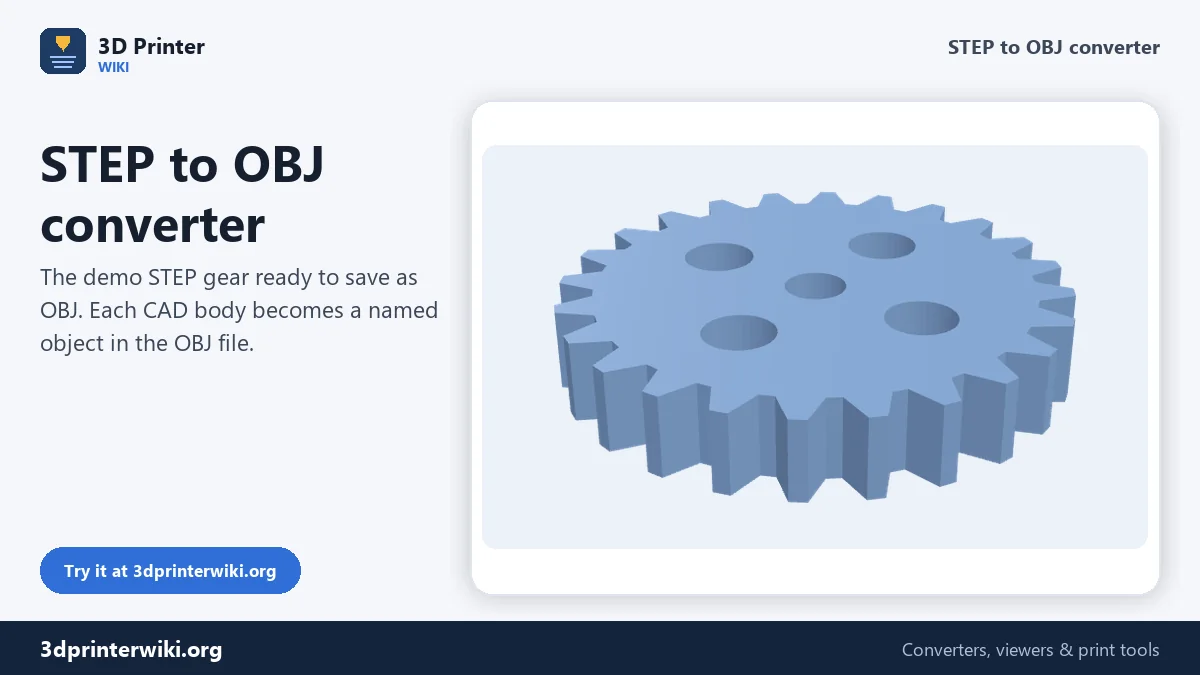
STEP is how CAD programs share parts: SolidWorks, Fusion, Onshape, Inventor, CATIA, FreeCAD and nearly every manufacturer's download portal. But Blender, KeyShot, Cinema 4D, Unity and most renderers don't read STEP, because they work with triangle meshes instead of exact CAD surfaces. This converter reads the STEP file with a CAD geometry kernel, turns every body into a fine mesh, and writes an OBJ you can import anywhere, with every body as its own named object.
How to convert STEP to OBJ
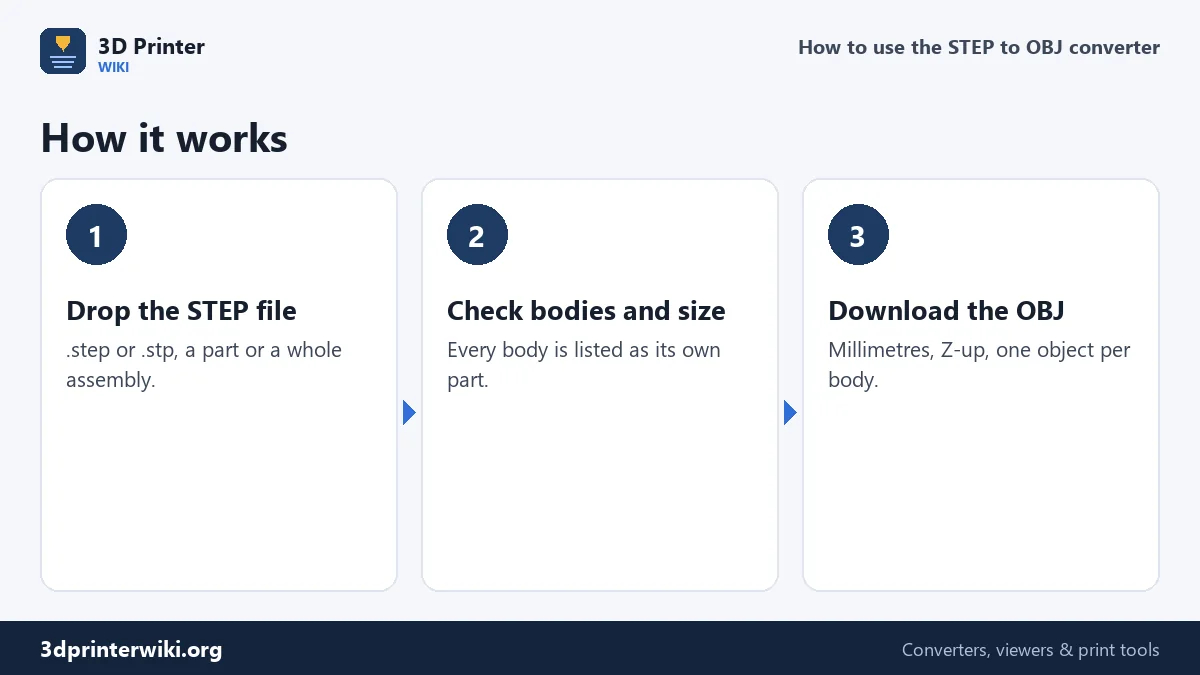
- Drop the .step or .stp file on the box. The CAD reader loads the first time you use it.
- Check the preview. The overall size in millimetres, the triangle count and the number of bodies are shown. Colours stored in the STEP are used in the preview.
- Download the OBJ. It is plain text, with one object per body.
Why renderers need a mesh
A STEP file describes shapes exactly: this face is part of a cylinder with radius 15 mm, that edge is an arc. CAD programs keep that precision so you can keep editing and measuring. Renderers and game engines work with triangles instead, and need the surfaces split up into flat facets first. That step is called tessellation, and it is what this converter does.
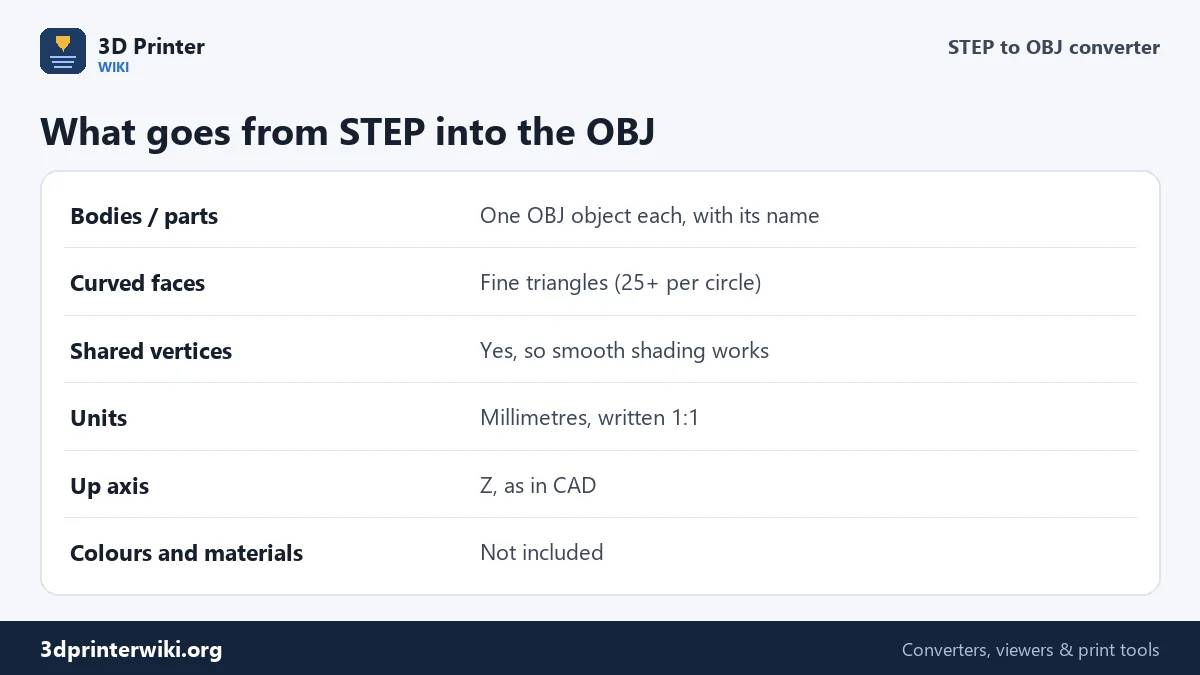
The mesh stays within 0.05% of the part's overall size of the true surface, and neighbouring facets differ by at most about 14°, so every full circle gets at least 25 segments and bigger round faces get more. That's smooth enough for close-up renders, especially once smooth shading is turned on.
What the OBJ looks like
The OBJ starts with two comment lines, then one o line per body followed by its vertices (v) and triangles (f). Vertices are shared between neighbouring triangles. That matters in Blender: with shared vertices, Shade Smooth and Shade Auto Smooth give clean, smooth curves, while a mesh made of separate triangles (like an STL) shows every facet.
Bodies keep their names from the STEP file where it has them, so an assembly arrives in Blender as "housing", "lid", "screw" and so on instead of one lump. You can then give each object its own material.
Importing into Blender
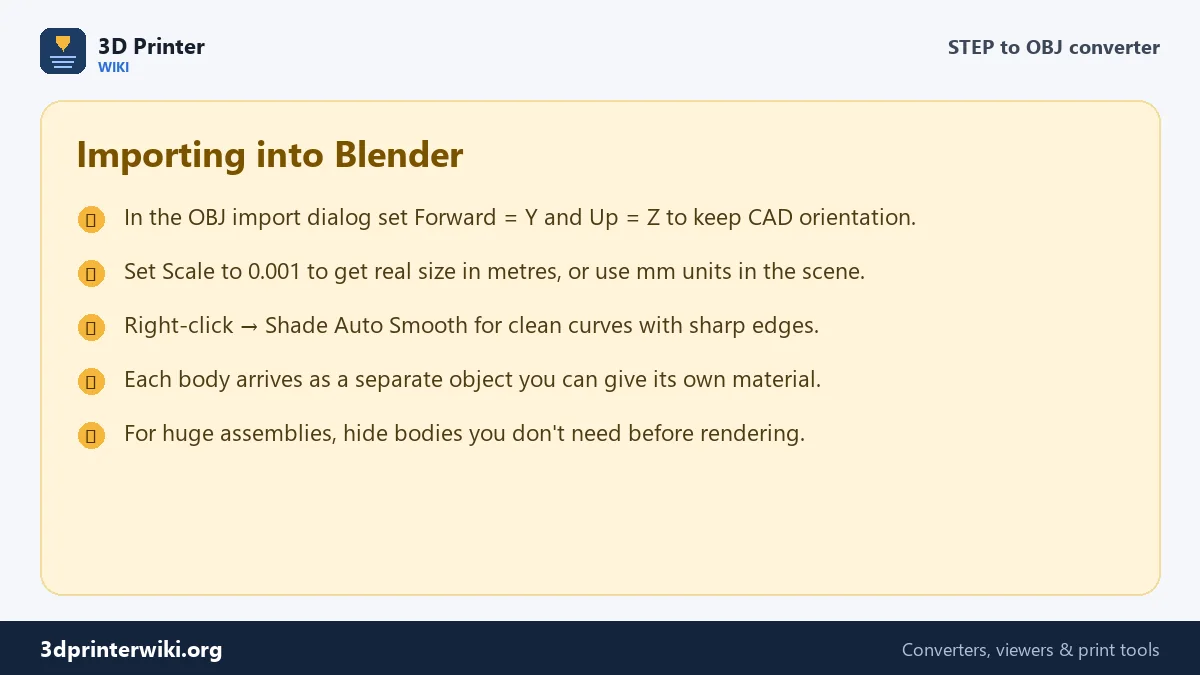
Two settings in Blender's OBJ import dialog decide whether the part arrives the way it looked in CAD:
- Axis. The OBJ keeps the CAD orientation, with Z up. Blender's importer assumes OBJ files are Y-up, so set Forward to Y and Up to Z. Otherwise the part lies on its back.
- Scale. The numbers are millimetres, but Blender treats one unit as one metre, so a 50 mm part arrives 50 m tall. Set Scale to 0.001 for real size, or set the scene's Unit Scale to 0.001 and Length to millimetres if you prefer to work in mm.
After importing, select the objects, right-click and choose Shade Auto Smooth. Curved faces turn smooth and sharp CAD edges stay sharp. Then add materials and lights as usual.
What doesn't come across
An OBJ holds shape only. CAD features, sketches, dimensions, the exact surface definitions, and assembly constraints are lost; you can't edit the OBJ like a CAD model. Colours and materials from the STEP are shown in the preview but not written to the OBJ, so assign materials in your 3D program. Keep the STEP file as the master copy.
If you want to 3D print the part rather than render it, use the STEP to STL converter instead. For web viewers and AR, convert to GLB with the same tool using the GLB button in the Same file as row.
OBJ, GLB or STL?
The same converter can save the STEP part in three mesh formats. Which one to choose depends on where the part goes next:
- OBJ for Blender, KeyShot, Cinema 4D, Maya and most renderers. It is plain text, read by almost every 3D program, keeps a separate object per body, and shares corners so smooth shading works.
- GLB for websites, AR, three.js, Unity and Unreal. It is binary and compact, stores the part in metres with Y up as glTF expects, and keeps a colour per body.
- STL for 3D printing. Every slicer reads it; use the STEP to STL converter, which can save each body as its own STL.
For a product render, OBJ is usually the easiest route. For a 3D view on a product page, choose GLB with the button in the Same file as row.
STEP to OBJ questions
How do I convert STEP to OBJ?
Drop the STEP or STP file on this page, check the preview, and press Download OBJ.
Can Blender open STEP files?
Not out of the box. Convert the STEP to OBJ here, then import the OBJ into Blender.
Why is my STEP part huge in Blender?
The OBJ is in millimetres and Blender uses metres. Set Scale to 0.001 when importing.
Why does my part lie on its back in Blender?
CAD uses Z up. In the import dialog, set Forward to Y and Up to Z.
Are assemblies kept as separate objects?
Yes. Each body in the STEP becomes its own object in the OBJ, with its name if the STEP has one.
Can I convert STEP to FBX?
Not directly here. Convert to OBJ or GLB, import it into Blender, and export FBX from there.
Why does my converted part look faceted?
Smooth shading is off. In Blender, right-click the object and choose Shade Auto Smooth.
Can KeyShot open the OBJ?
Yes. Import it and set the unit to millimetres so the part has its real size.
More 3D printing tools
Updated November 2026 · How these tools work